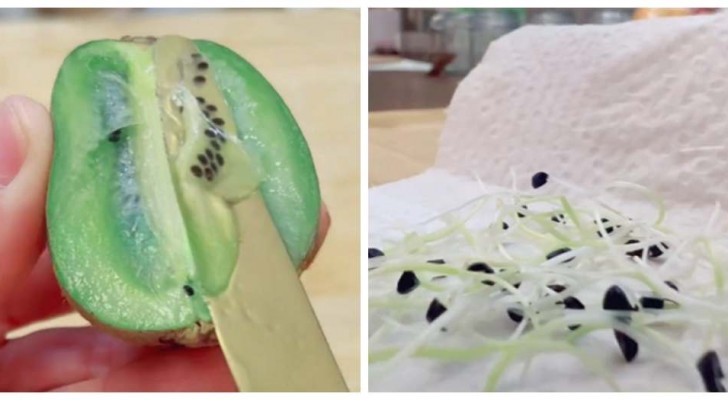
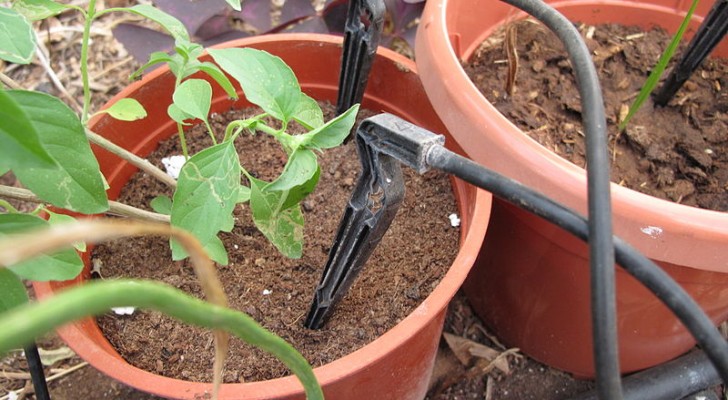
Keep seeds, pips and fruit and vegetable scraps - you can use them to grow new plants
Fruit and vegetables are part of everyone's diet, and indeed they are a healthy component that should never be missing in every diet. Thus, it is easy that every day we find ourselves cleaning some vegetable or fruit, perhaps even exotic ones, taking off their peels, skins, cores and also their seeds or kernels. The latter, however, are the ones that we could keep from time to time if we wanted to indulge ourselves with some simple gardening experiments. And we could also experiment with certain tubers or bulbs that we normally consume as food!
From garlic to avocado, find out how you can grow new plants from food scraps!
Sweet potatoes
Garlic
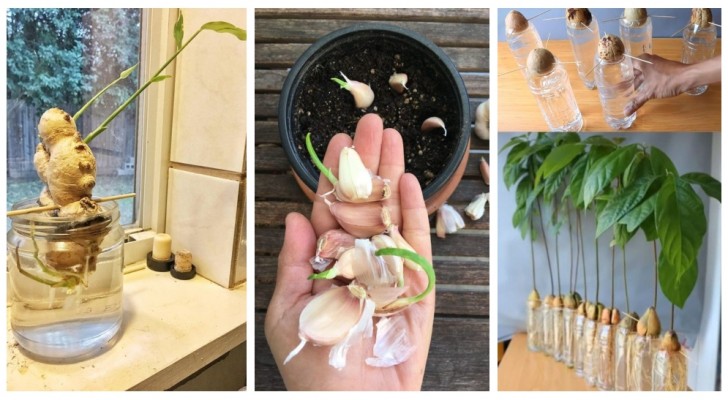
When you notice that a clove of garlic has sprouted, to the degree that the pulp is almost gone, it is of little use in the kitchen, but it can be used to grow new garlic plants: in fact, edible green leaves will bud which - like chives or agline grass - can be used for flavoring and cooking.
Put the cloves in a bowl or tray in the sun, so that they are surrounded by water but are not completely submerged. Within a few days, the roots will sprout and when they are one or two centimeters long you can move the cloves to soil. Put them in the soil leaving the budding area above the ground and water them regularly but without going overboard. When the leaves reach 7-10 cm in height, you can begin to use them for flavoring in the kitchen.
Ginger
If you find yourself with extra ginger roots that you don't know what to do with, before letting them rot in the fridge, you could try using them to grow some unusual plants! The best time is late winter or early spring, but you can also try it at other times of the year.
The ginger sprouts start from the eyelets, that is the small "bubbles" that can be seen on the surface, so the more your root has, the more chances to start new leaves you will have. Keep the rhizomes in water for 8-12 hours and then pot them in a large vase at a depth of 10 cm. Alternatively, you can try to use the same method used with sweet potatoes, leaving only their lower half (the eyelets will go upwards) covered by the water.
Keep the ginger rhizome in a warm but shady place and when you notice a good root system developing, you can move the tuber to the soil. If it was already in a pot, then you just have to wait for it to grow. When you want to harvest it, you will have to take the plant by its circumference and pull up firmly but not abruptly, taking up all of the rhizome. If you want to use only a piece of the root, cut it off with sterilized scissors, putting the rest back in the soil and leaving it to rest for at least a month before removing it again for harvesting.
Pineapples
This is a very fun experiment that requires a little patience: pineapples, in fact, have the particularity of being able to reproduce themselves starting from the tuft of leaves on top!
Choose a fresh pineapple, separate the top with the leaves from the rest by firmly grasping the base of the leaves with one hand and the bottom of the pineapple with the other hand and then twisting them to separate the two parts. You can also cut the top off, just remove the first ring of leaves at the bottom and also any residual pulp.
Now put the tuft of leaves in water, so that the base (where the roots will grow from) is a little below the surface of the water. Once the roots have grown, you can plant everything in a pot with rich, well-nourished soil. Keep the pot in the sun, with a temperature always above 18°C (65°F). The plant will grow slowly and will produce new leaves in the first year of growing, but you have to wait at least 4 years before harvesting any fruit.
Avocado
Again, this is a process similar to that of the sweet potato, but here we start from the large and hard stone in the center of the avocado (sometimes also called the "seed" or the "pip"). Clean it of all the pulp and then insert 3 toothpicks so that it it remains suspended over the opening of a glass jar that you will fill with water. This will need to reach the bottom third of the avocado stone, and you will have to change the water about once a week until the pip begins to crack and produce the roots from the bottom and the shoots from the top. It can take (under ideal conditions) as little as two weeks, but in some cases, you might have to wait up to two months before you notice the growth.
When the stem produced at the top is 15 centimeters long, you can move the pip into a pot large enough to accommodate the plant with all its roots, in a loose, rich and well-draining soil. Avocados love warm and sunny locations.
Lemons
All the seeds from the lemons you squeeze could become beautiful seedlings, and it's easy to try growing them.
Wash the seeds to remove any residual pulp, and use fresh lemons. Use a jar or other container, with a hole in the bottom, filled with universal soil mixed with a sand and peat or sphagnum in equal parts, and put it in the oven at 60°C (140°F) for half an hour in order to kill off all the potential pathogens in the soil. Then let it cool down and plant the seeds at a depth of 1 cm.
Sprinkle water on the soil and cover with a pierced, clear film to retain moisture, and make sure the soil is always slightly moist. The seeds will germinate at 21°C, so choose a place at home that is warm enough, and when you notice the sprouts appearing, you can move the jar to the light, removing the plastic film.
As soon as you notice more than 3 or 4 leaves, move everything to a larger pot with universal soil, placing it in a place that is reached by direct sunlight for at least 4 hours a day, and with temperatures preferably between 15 and 21°C (60°F - 70°F) and free from air currents.
Happy gardening!
