Slave to watering your plants? Build your own automatic drip irrigation system
Anyone who loves taking care of plants, at home, on the balcony or in the garden, knows that doing so involves making some sacrifices: the plants must be watered frequently, and much more often as temperatures rise. But this usually coincides with the period in which we take our vacation days, thus leaving our homes unattended.
If we have someone who stays at home or some trusted person who can come around to take care of our plants, no problem. But anyone who wants to get rid of this burden can always help themselves using an automatic and timed drip irrigation system, which is easily installed without needing to call a professional plumber and/or gardener.
What is needed:
- A two-way connector to attach two hoses to a single tap.
- A control unit with timer to set the times and frequency of watering.
- A pressure regulator.
- A hose for conveying the water.
- Scotch tape.
- A saw for cutting PVC pipes (which you will use to cut the pipes to size).
- A polyethylene cap to close the hose.
- 6mm irrigation tube / hose.
- Perforator (drill) to make the holes into which to insert the drip irrigation units.
- Main hose branch connectors.
- Caps to close any misplaced holes.
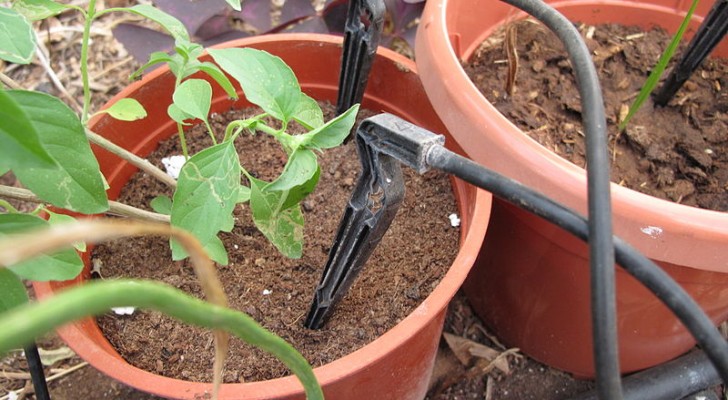
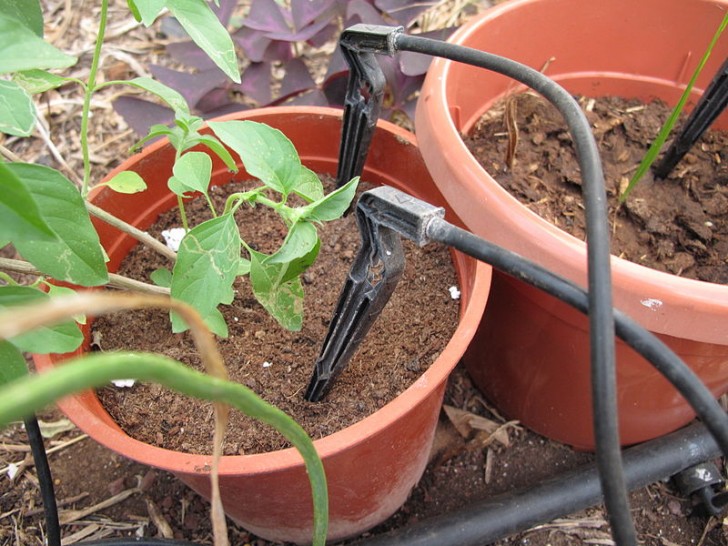
- Drip irrigation units (those that will be stuck into the plant's soil).
These are the materials for those who want to create a completely DIY system, but there are also ready-made kits which you can buy both online and in garden centers or hardware stores.
How to proceed:
- Install the two-way connector on the tap.
- Attach the garden hose to one of the outlets, with the pressure regulator fitted to one end and the timer to the other.
- Plan the route that the tube will have to travel to reach all the pots. The recommendation is always to group the pots together as much as possible (all those that need to be in the sun together, all those that need to be sheltered together, etc).
- Then unroll the tube so that it reaches the pots and and mark the spots with a felt-tip pen or even a bit of masking tape where you will need to drill holes to insert the drip units.
- Now, drill the holes required. Take care to pierce only one side of the hose.
- Take the thinnest tube (6mm) and cut some pieces long enough to reach the pots without a problem (also take into account the drip unit that you will insert into the ground)
- Insert the drip units into the pots, connect the tubes and close the end of the main hose with the sealing cap.
- Do your tests: turn on the water in the days before you leave, to allow plenty of time to make any changes.
With a little planning, it will take an afternoon to set up a system that will set you free you from having to worry about your unattended plants!