Don't throw them away! 5 brilliant DIY ideas for recycling cardboard boxes
If we didn't throw them away, our homes would probably be flooded with cardboard boxes and cartons. Small, large, medium, cardboard boxes are used to contain objects of all kind - furniture, appliances, shoes, toys, books and much, much more. The good news is that they are much more eco-friendly than other types of packaging, but it is a real shame to constantly throw them into the trash given their enormous potential in terms of facilitating creative, DIY recycling.
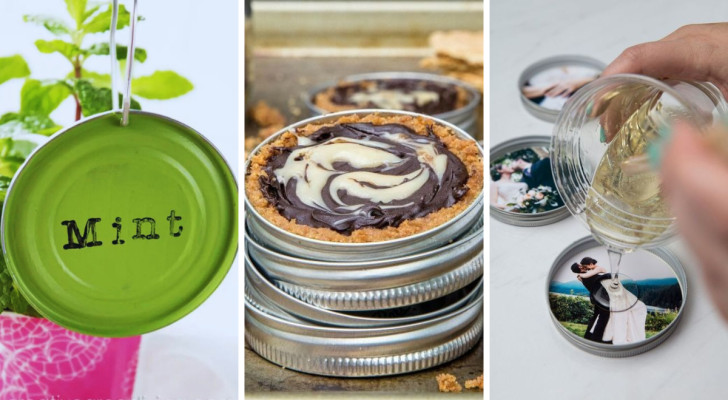
There are those who reuse boxes to make DIY bookcases and shelves at (almost) zero cost. Then there are those who transform them into versatile storage compartments and others who, by cutting them, create photo frames and original toy animals for children. In short, the creative ideas are innumerable and are very simple to achieve.
From regular cardboard boxes to a practical DIY bookcase - this it can be achieved very easily. Just get at a dozen boxes, (bearing in mind that the number varies according to the size of the bookcase you want), and after having placed them side by side and touching their neighbour, join them together using special clips. You can add more levels and finish the job with a coat of paint in your favorite color.
Instead of buying ready-made containers, save money by reusing the cardboard boxes you have laying around the house. You can cover them with fabrics with captivating patterns, jute cord, gift paper and anything else that your imagination jumps to. Before you start, get some scissors, a pencil and hot glue - these are essential tools for doing a great job.
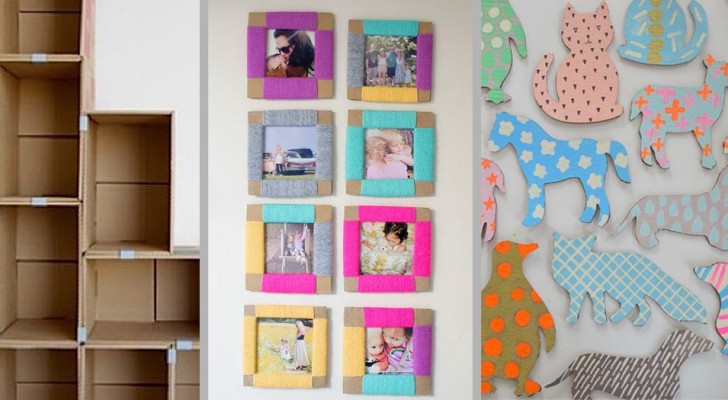
Do you have children at home? Turn cardboard boxes into toy animals. Cut out the side panels of a box, draw animals of their choice on them, and get the children paint them with water colors and brushes - then cut them out with scissors.
Family photos should be kept in view and what better way to enhance them than with a beautiful frame? Take a piece of cardboard from a box, draw a rectangle on it and using a ruler, draw a smaller rectangle inside it. Then cut it out with scissors. Wrap the sides of the frame with colored wool threads, then glue the edges of the photo you intend to frame on the back.
If you have pens, markers, colored pencils and other writing implements scattered all over the house, a practical organizer will certainly be useful, as it will help you keep them in order and divided by type.
You can make this with two cardboard boxes: from the first, make the shelves that you will insert inside the second box, securing them with adhesive tape (sellotape). Cover everything using the découpage technique, let it dry and insert the pens and pencils. Easy, right?