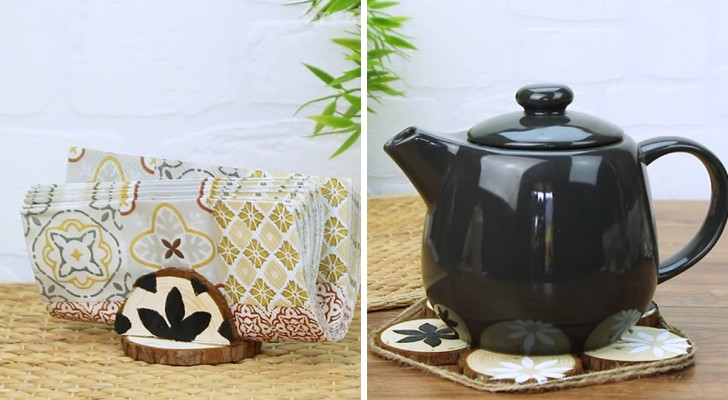
Use scraps of fabric to make a fantastic, customized rug!
Rugs, mats and carpets are furnishing accessories that make our homes more beautiful and comfortable. Those colored floor coverings, in fact, enrich the decor of any room. Not only that, but they are ever-ready to protect our feet from the cold floor as soon as we get out of bed; or to catch dripping water when we step out of the shower; they protect the floors from the splashes from the sink; and they also become accessories that allow us live the house in a much more comfortable manner.
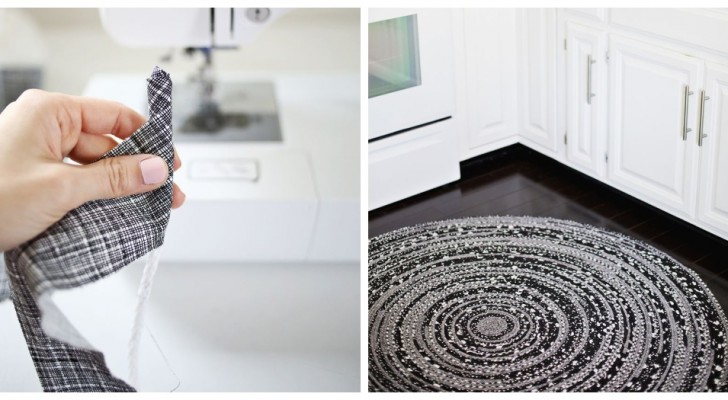
By using a DIY project, you can make a round mat by recycling scraps of fabric and very little else, as illustrated by the tutorial that we describe below (and which you can also see in the online tutorial).
You will need:
- A rope or cord (those used for hanging up clothes are fine, but not those made from nylon or hard plastic).
- Scraps of fabric to be sized / cut into long strips, 5 cm wide. Choose colors and patterns that will match the area they will be used in! Strips used in the tutorial amounted to about 8m of material in total.
- Strong sewing thread (for this too, choose a color that matches fabric strips).
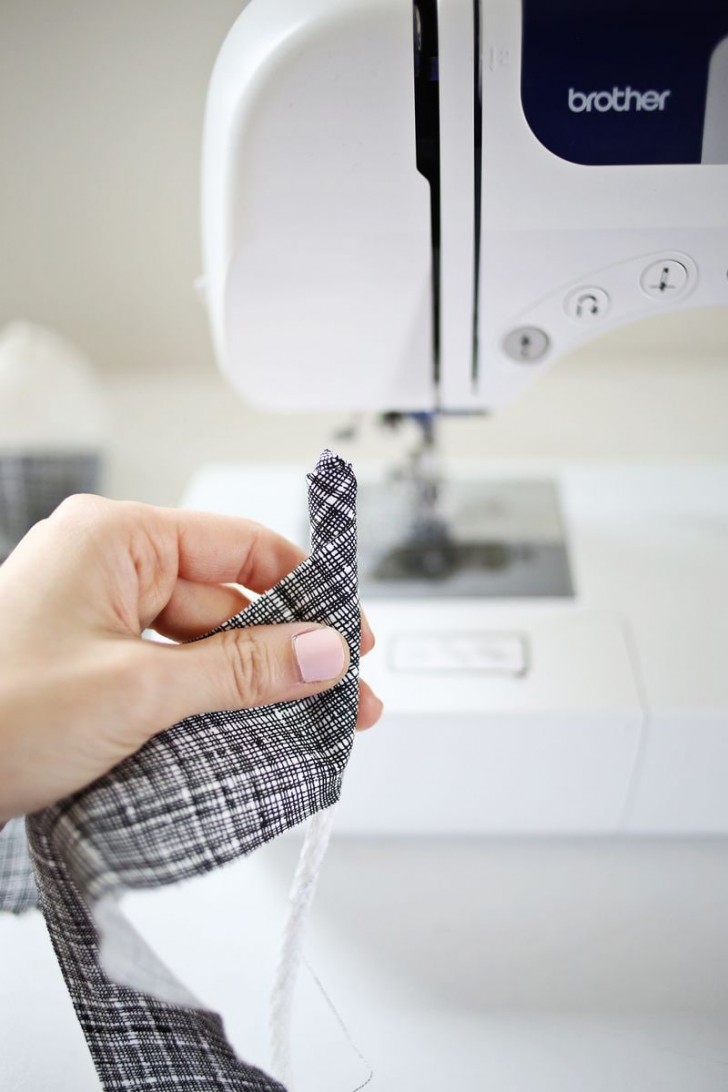
- A sewing machine (with a needle for working on heavy / tough fabrics, such as jeans).
Tutorial via abeautifulmess.com
Take the end of the cord / rope and cover it with the first strip of fabric: there is no specific way to do this - the important thing is that it is wrapped all around the cord so that you do not see the cord protruding from the fabric.
Continue to wind strips around the cord, every so often (about every 10 cm), stop winding the fabric strips around the cord and secure the cord with a few stitches, so that it does not come free and remains properly wound up.
Tutorial via abeautifulmess.com
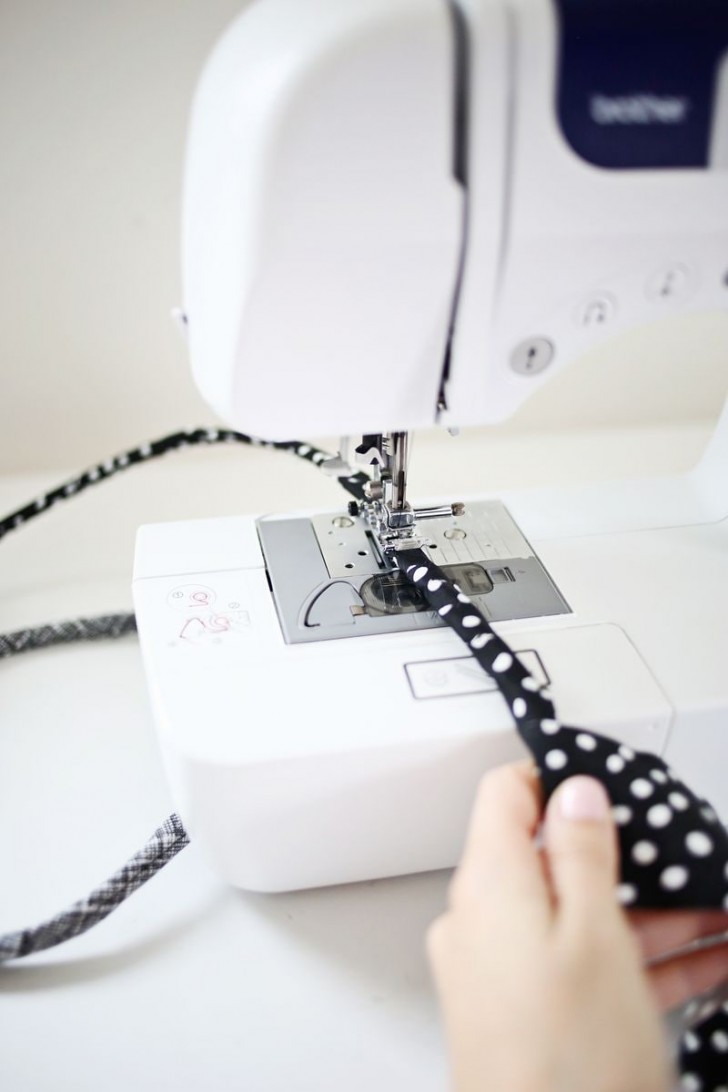
Continue to keep using the strips in any order you wish, possibly also alternating them according to the length of each: you just need to ensure to overlap the end of a new strip of fabric with the one already sewn to the rope, so as not to leave gaps.
If, on the other hand, you need to join another piece of cord to the length, just place the end immediately after the end of the previous one, and then join them together using a strip of fabric that you will need to tighten around the join and sew firmly in place. Then put a few stitches through the pieces of cord as well for good measure.

Tutorial via abeautifulmess.com
When you have wrapped up all the cord, begin to roll one end on itself, using the sewing machine at intervals to stop the coil from unwrapping or unrolling: you need to put in more stitches at the beginning, when you begin to shape the flattened circle.
Continue to widen the diameter of the circle by rolling up the cord and securing it with stitches at intervals, until you reach the desired size.
Tutorial via abeautifulmess.com
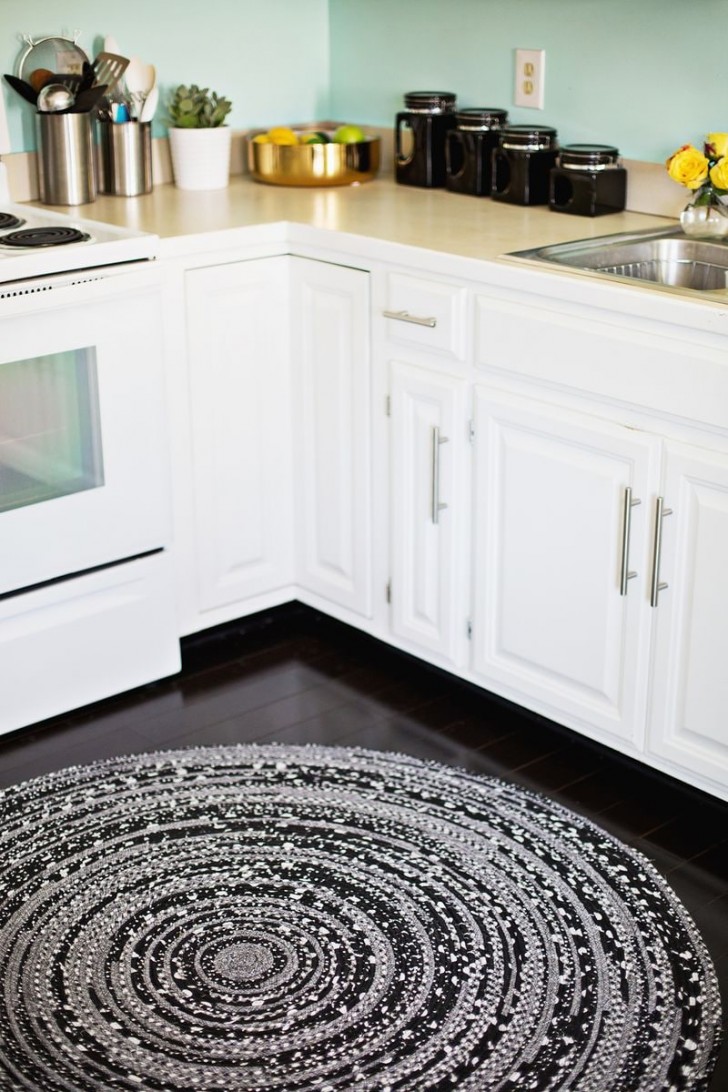
In the end you will have a firm but flexible rug, and totally customized. You can easily wash it with standard detergent when you need to!
For more information, check out this tutorial.