Repotting orchids: what is the correct procedure to follow?

Orchids are amongst the most beautiful and ornamental flowers that there are. Their fragile beauty, their bright colors and their overall elegance are all reasons why orchids are popular with home owners and orchid enthusiasts. Orchids are tropical plants and must be well cared for in order to survive one year to the next. And repotting of orchids requires special care and attention.
Let's find out how to repot/transplant orchids properly:
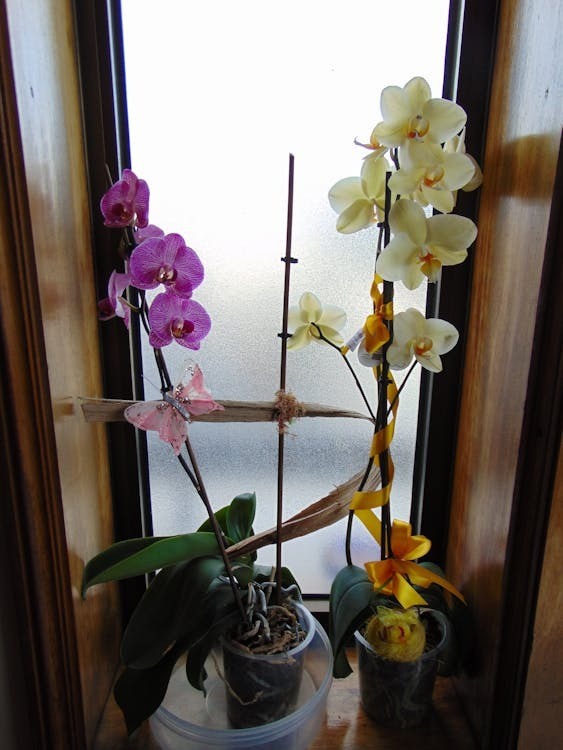
Orchids: truly amazing flowers!
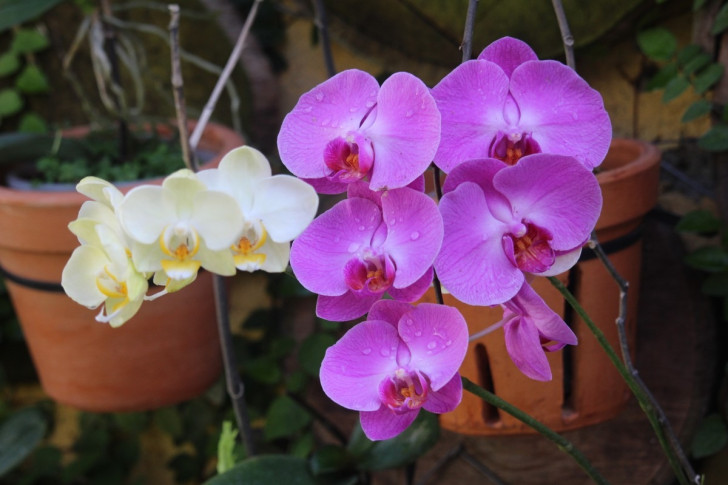
Pxhere
Orchids are plants that love humidity, sunlight and a particular type of soil - made up of peat and bark. Orchids produce flowers in all sorts of colors and can be cultivated both indoors and outdoors. That said, it is necessary to ensure they are not exposed to temperatures that drop below 15 degrees C. When this happens, it is time to move outdoor orchids inside.
In terms of repotting, when should this be done? Orchids are usually sold in small, transparent jars/containers. This is due to the fact that orchid roots also need exposure to sunlight. That said, the question remains: how do you know when it's time to repot your orchids? Well, keep reading...
When to repot
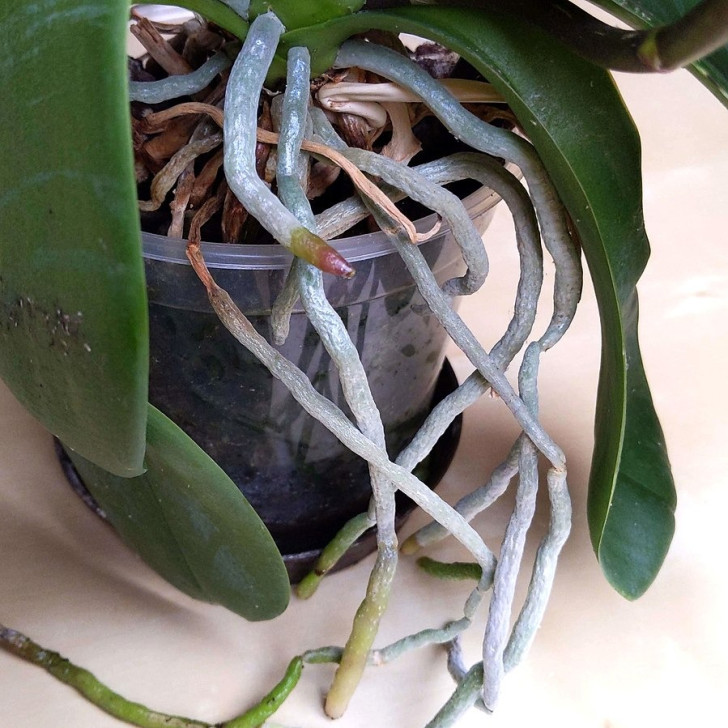
Repotting orchids depends a lot on the state of the roots. If the roots are still in the soil, if they are not drying out and/or if they are not too densely packed, then you can wait. But if any of the foregoing conditions exist, it's time to repot your orchids.
Repotting should not be done during the flowering period. You must wait for your orchid to enter its hibernation/rest period to do your repotting. To do this, gather up all the equipment you will need first (described below).
Repotting procedure
Vc-creative Photography/Pexels
Repotting orchids is not complicated, but it does need to be done with care. Let's check out a step-by-step guide:
- Equip yourself with everything you need: proper orchid soil, sticks to support the stems, scissors to cut the roots and water.
- Remove the plant from its original pot and free the roots of soil in order to check them. If they are green and plump, they are healthy; if parts of the roots are dry or rotten, these must be cut off. If the roots are dry, soak them in water for a few minutes.
- Now get the new pot, put orchid-friendly soil into it (ie. soil made up with peat and bark) and then plant your orchid. Then, arrange the soil around the roots.
- Add supports for the stems to prevent them from breaking/snapping, and water the orchid. Allow excess water to drain off, as failing to do so could lead to root rot developing.
- At this point, you can place your orchid in a good spot for it, ie. near a source of light and not exposed to the cold. Your orchid will now be ready to bloom beautifully.
All done!
Now, you should be ready to take care of your orchid's repotting needs. So, get cracking and good luck!