Upside Down Plants: Learn how to grow them in upside down planters
A plant that grows upside down is perhaps one of the most unusual things you can think of: the crown is at the bottom and the roots are at the top - and this configuration seems to defy every law of nature. But nonetheless, this is a trend exists online (i.e. growing plants upside down).
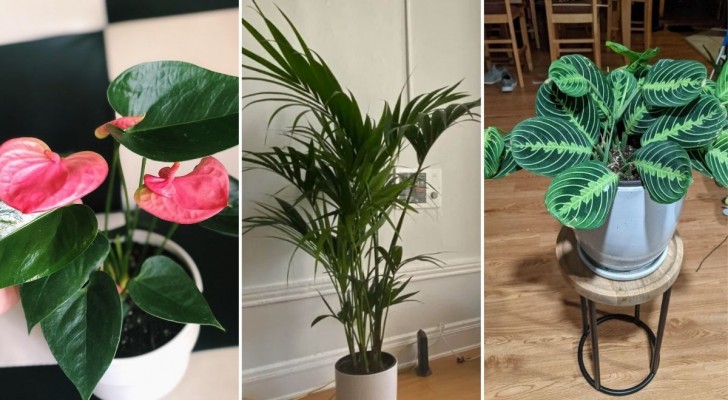
Many gardening enthusiasts, in fact, try their hand at this project and it may seem difficult- but in reality it isn't (if you proceed in the right way and with the right plants, of course). In fact, it is necessary to choose hardy plants, even better if they are climbers or have drooping foliage or a creeping nature. This is because these plant types are naturally more inclined not to orientate their foliage upwards. But there are those who even do this with tomatoes! There are several ways to make an upside-down planter to hang up at home, and we here we give you two examples:
Tutorial via KR Home Garden/YouTube
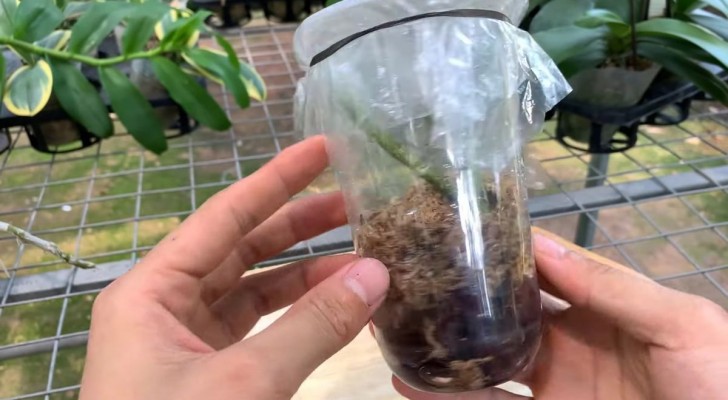
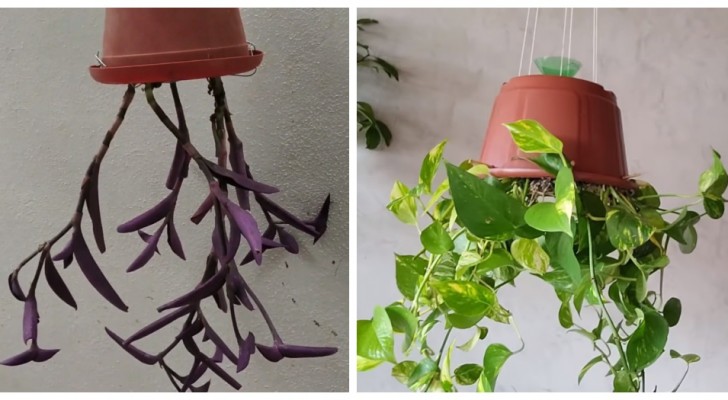
In the first example, of which you can see in a video tutorial here, a common tradescantia (spiderwort) is used which has purple leaves and this is a plant that often manages to grow even in small crevices in the walls.
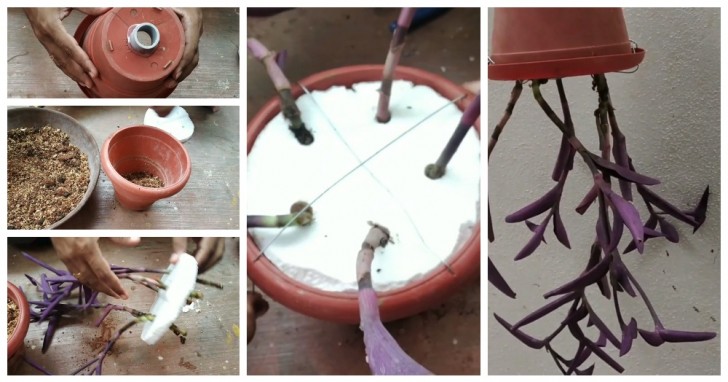
The project consists in making a hole in the center of the bottom of the pot, into which the water will enter to hydrate the soil. A cylindrical object must also be provided to be fixed inside this hole, which acts as an guide to pour the water.
Then you make holes (using a drill or the hot tip of a soldering irons, or similar implement) in the side and along the edge of the pot (these are used to insert the wire that prevents the plant from falling out) and a couple of holes towards the bottom of the pot from which the handles for hanging the plant up will be attached. The handle can be made from iron or even a length of rope.
In the tutorial the pot is filled with soil, sawdust and compost in equal parts.
But how do you secure the plant so it doesn't fall out of the pot? There are two tricks. First of all, in the case of the tradescantia (whose cuttings root quickly), freshly cut branches were used; and then the soil was covered with a "cap" made from a polystyrene disk as large as the diameter of the pot. Once you have drilled some holes in the polystyrene disc, just insert the branches of tradescantia, place the soil in the pot and then secure everything with the wire that passes through the holes near the edge.
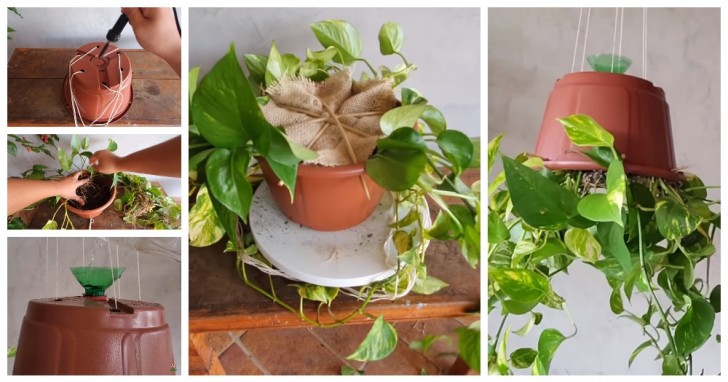
Video tutorial via Cantinho de casa/YouTube
In another tutorial - which you can see here - they use a pothos plant (devil's ivy) instead. Also in this case, the entire plant is not planted but only single branches that have already rooted.
Once the "harness" has been created with cords at the bottom (which will be used to hang the pot) and the hole that allows irrigation, the pot was filled with soil. At the time of inserting the plant, each branch was simply placed into the soil in a radial pattern, with the roots meeting in the center. After planting all the branches available, the roots in the center were covered with more soil and then, to keep everything secure, they used jute scraps, secured with a series of crossed wooden sticks (like chopsticks) and inserted through holes specially made in the side of the pot itself. Thus, once the plant is turned upside down to hang, nothing will fall! out
This could be a fun way to grow plants without taking up floor space!