The foolproof method for propagating orchids in a plastic bottle

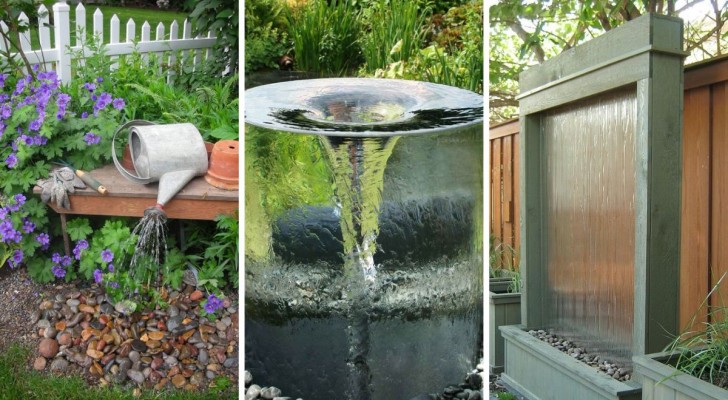
As beautiful as they are delicate, orchids are amongst the most beloved of houseplants due to their charm. It frequently happens, however, that due to errors in their cultivation, these plants do not grow as hoped for and do not produce flowers. For this reason, propagating "successful" orchids makes a lot of sense.
The propagation of orchids can be an incredibly simple and cheap. There are various possible propagation techniques and amongst these is propagation from cuttings.
Did you know that you can do this simply by using some moss and a recycled plastic or glass bottle?
Check out how to proceed below:
Propagating an orchid in a plastic bottle: the method described step-by-step
You can propagate your orchids starting from the a stem on which there are at least two flowering branches.
- With a sterile blade, cut off one of the branches, taking off the flowers and dividing it into smaller parts, cutting the sections in half between 2 nodes.
- To stimulate growth, you can use an aloe leaf or, if you don't have an aloe plant, use pure aloe gel. If you have an aloe plant, get a leaf, cut it open and insert the cuttings into the incision to cover them with gel; if you use pure gel, distribute it along the entire length of the cuttings.
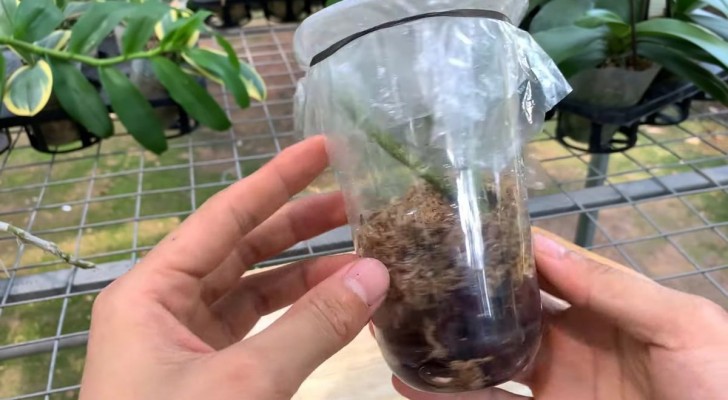
- Now it's time to get a disposable plastic cup. Alternatively, you can use a plastic bottle, cutting it about halfway down and keeping the upper portion. Place some bark and moss at the bottom of the bottle and wet using a spray bottle.
- When the container is ready, insert the orchid cuttings, ensuring that they come into close contact with the damp moss/bark.
- Cover the glass with cling film, securing it with an elastic band; if you used a bottle, place the upper portion into the lower one, fitting them together. Make holes in the film or in the bottle cap.
- Leave this for 2 weeks and you will see that the cuttings will produce roots.
Useful tips to ensure your orchids are always healthy and thrive
Orchids have a number of natural enemies and root rot is also common due to over-watering mistakes. To combat rotting risks, remove any dry or rotten leaves and roots.
Gently remove all the soil (or similar) from the roots to carry out a thorough cleaning; for this operation use sterile scissors, so as not to spread potential pathogens to the plants. Wash the orchids carefully before repotting them.
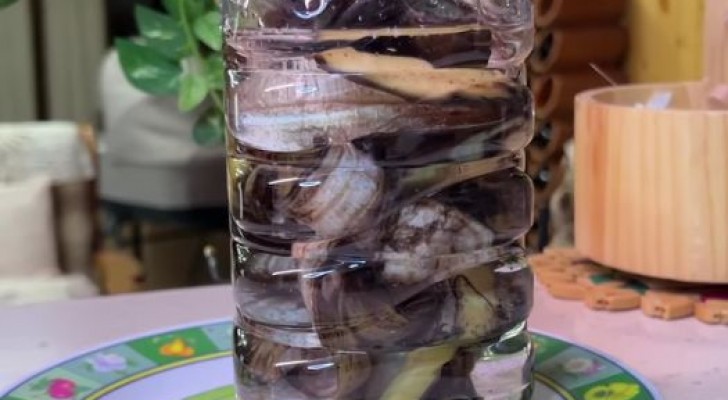
To keep orchids healthy and ensure their rapid growth, prepare a fertilizer by blending a piece of fresh ginger and a clove of garlic in 300 ml of water. Blend and filter the solution, then immerse your orchids in this solution for at least 20 minutes. Thereafter, dry off carefully and repot.
Using these methods, you will always have beautiful orchids at home!