Small cracks in the wall? Try DIY techniques to fix them easily
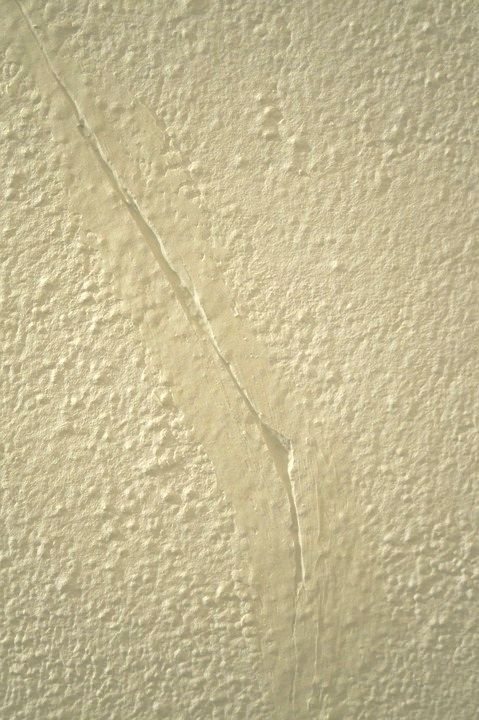
The passage of time can leave marks and scuffs on the walls of our homes, even on the inside. In fact, cracks and fissures of various sizes may appear on the surface finish, which must always be carefully checked to understand their gravity in order to act promptly to fix the most dangerous ones.
When the crack exceeds one centimeter in depth, and is still within three centimeters, you can decide whether to intervene on your own (advisable only if you have experience) or contact a professional. However, if they are even deeper, it is always necessary to call an expert to swiftly fix the situation and take the necessary measures, since the crack will probably be a symptom of some structural damage.
However, when the crack is superficial (within 1 cm of depth) although perhaps wide and still visible, it is also possible to repair it rather easily by yourself.
List of equipment it takes to repair a crack in the wall:
- Protective mask
- Latex gloves
- A protective plastic sheet
- Sand paper
- Trowel (or spatula), in metal or plastic
- Spatula
- Toothbrush
- Putty suitable for the type of wall covering material
- To finish: paint and brush or roller, to restore the same color to the same as the rest of the wall, preferably with a suitable primer to use to prepare the surface.
How to proceed:
- Protect the floor area and furniture with a plastic sheet that could get dirty during the work;
- Wear the appropriate protection (gloves and mask), and remember to work in a well-ventilated area;
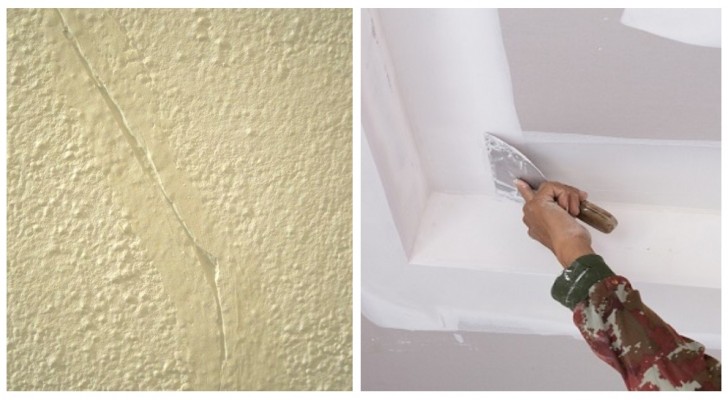
- Clean the wall thoroughly before starting, letting all the loose parts fall off with the help of the spatula. You will then need to gently scrape in and around the crack until there are no bits that could become detached later during the repair;
- Finish removing all the dust and debris from the wall with the help of a toothbrush first and then a vacuum cleaner;
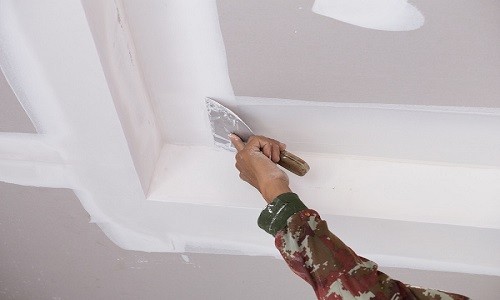
- When everything is clean and perfectly dry, use a trowel or spatula to spread the putty (or plaster, whatever is good for the wall) inside the crack, until it is completely filled;
- Still using the trowel, smooth out the plaster as much as possible: you will have to make sure that there are no raised lumps appear on the surface, then remove all that is in excess;
- Let it dry for the time indicated on the purchased plaster package (usually between 24 and 48 hours);
- When it is dry, use sandpaper to remove the smallest bumps.
At this point the wall is repaired and intact again, so you can proceed to repaint the affected area so that it returns to be uniform with the rest of the wall. Remember that to avoid having a different finish than the rest of the wall (which often is more glossy), you need to use a primer before applying the paint.
Good luck with your cracking job!