How to build a kite: a simple project, suitable for young and old
The kite is one of those objects that automatically take us back to childhood, to a carefree period, where we weren't involved in the big problems of life and where the only things we really cared about were summer holidays and our friends, we played with every single afternoon. Today's youth, perhaps, have lost a little the habit of playing outdoors, sharing carefree moments in the absence of smartphones and tablets, but remember one thing: it's never too late to fix it! The kite is definitely one of those timeless games, suitable for 3-year-old children, but also for adults, as Mary Poppins teaches us in the famous 1964 film, where, in the final scene, Mr. Banks really understands what it is. matters more than anything else: his family. Flying a kite seems like a rather simple activity, it is true, but, in addition to hiding considerable technical difficulties, it also provides numerous learning opportunities for the little ones. To begin with, it is an activity that needs to be carried out outdoors, - perfect, therefore, to put your nose out of the house during a beautiful sunny day, to be spent with the whole family! Secondly, the activity itself represents a game with hidden playful properties: inducing children to act instinctively and teaching them that no result is absolutely better than the others; a game that allows you to experiment with cooperation and that enhances the participation of the players rather than their selection. Who would have thought that behind such a simple game a world could hide behind? Obviously, there are many models of kites on the market and you will certainly not struggle to find one for your child or grandchild, but, given the possibility, it would be even better to build one from scratch. If you are not sure what to invent to involve your children in some creative activity, offer them the creation of a kite: a simple project that will give you great satisfaction, as well as make you spend some time together!
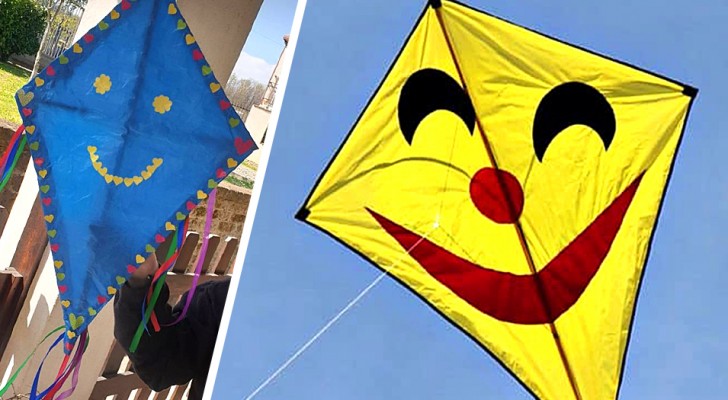
In this article, we will explain how to make a particular type of kite, the "delta" kite, together with your children. This is the classic kite that, at least once, we have all tried to fly or have seen someone try.
Start by getting the necessary materials: what do you need? For sure, you will have to go to a do-it-yourself shop to be able to remedy two round wooden dowels 5 mm thick and 60 and 50 cm long respectively; a pencil, some scissors, a ruler, a utility knife or a small hacksaw, some masking tape, a very long string and a full sheet of newspaper (alternatively, you can also use a plastic bag, egg paper Easter or, better still, colored gift paper). Once you have collected all the materials, you can start the process:
Make sure that the length of the dowels is correct, otherwise you will shorten them with the help of a hacksaw and a ruler. Remember that, for this type of kite, the stick for the vertical support must be 60 cm long, while the one for the horizontal support must be 50 cm. At this point you will need to make incisions at the ends of the dowels, so that they are perpendicular to the length of the cue. Obviously, don't let children do this! To make it easier, we advise you to use a light wood, such as balsa, which is very easy to carve. Once these small notches have been applied, measures must be taken to position the battens so that they form the basic structure of our kite. Place the longest stick, the 60 cm one, on the table and measure 15 cm, taking care to mark the exact point with a pencil or marker; in the same way, measure 25 cm on the shortest stick, the 50 cm one, and make a mark at that point. Now you can overlap the two sticks, the longer vertically and the shorter horizontally, using the pencil mark you just marked. What you need to get is, in essence, a cross. Now, take the string (some fishing line will work too) and tie the two sticks at the central meeting point. While winding the cord, try to form a kind of "X", but take care to keep the two pieces always in the same position, perpendicular to each other. This knot must be firmly in place, but remember: DO NOT cut the cord once the knot has been made, because you will need it to pass through the entire kite structure! Reinforce the meeting point of the two sticks with adhesive tape, in order to be sure that the structure of your kite is sturdy enough. Then, pass the thread, clockwise, inside the incisions you made at the beginning of the project; pass the thread through each end, always trying to keep it very taut, and, at the end, bring it back to the center to tie it around the "X" made earlier. At this point your frame is ready!
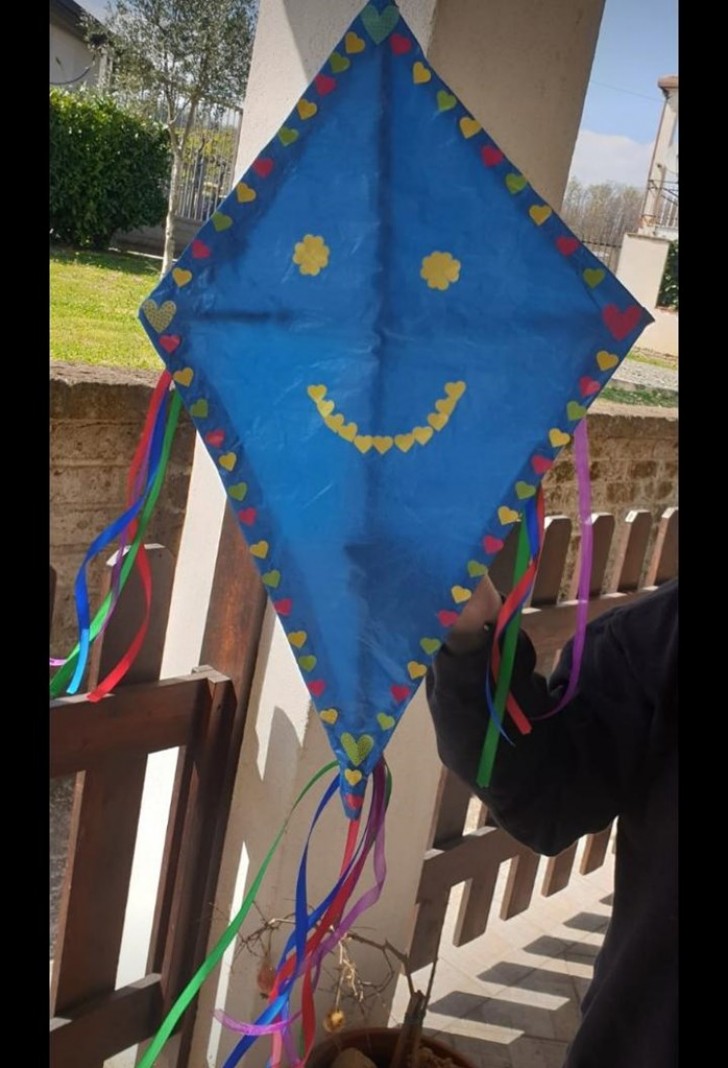
Now, let's move on to making “the sail” and giving life to our kite! Choose the material you like best, among those we have indicated, and proceed with all the decorations you want. This step will be particularly interesting for your children, because they will be able to let their imagination run free and give the kite the look they want most.
Place the chosen material, such as gift paper, on the structure and start tracing the shape. Pay attention: the traced shape must be slightly larger than the frame, at least 3 or 5 cm. Cut out the template with scissors and attach it to the frame. Fold the excess edges over the string that forms the frame and secure them with strong adhesive tape. Further reinforce both the edges and the ends of the kite with additional adhesive tape. Now you have to make the kite bridle, which is a rope that extends along the entire length of the structure, to which the restraint cable is attached. Use a pencil, or something thinner, to make a small hole on the two ends of the kite, the upper and lower, which you have previously reinforced with adhesive tape. Get 60 cm of cord and pass one end of the rope through the upper hole and the other through the lower one, then knot them. Now tie the restraint cable to the bridle, at the point where the two ribs cross. Then, holding the kite by the bridle, find the exact point where your kite is parallel to the ground: it is exactly at that point that you will need to attach the restraint cable. Then knot the end of the rope around the bridle.
At this point, all that remains is to move on to the colored ribbons to further decorate the kite.
You can always use the same cord, to which you can apply ribbons of different colors using a knot, or adhesive tape. The same lanyard can be attached to the kite with a bit of adhesive tape or, alternatively, by passing it back through the hole located in the lower end of the kite. This line can be from 2 to 6 meters long, depending on the weight of the kite.
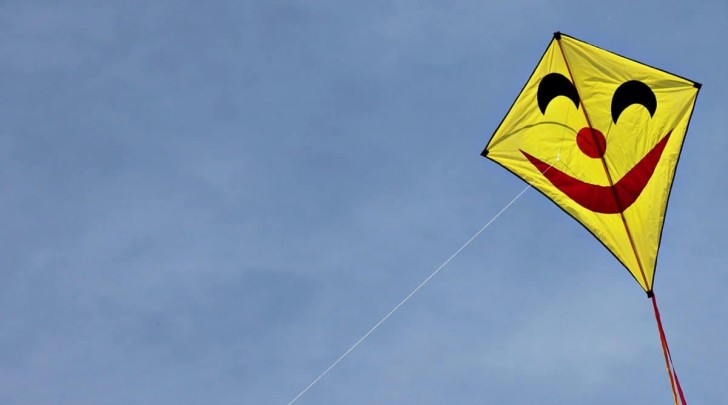
Your project is finished: you just have to wait for a nice windy day to try to fly your homemade kite! Obviously, try to fly it in an open space, free from any obstacles, such as trees, buildings or light cables, otherwise you risk getting it entangled immediately. If you have doubts about how to fly it for the first time, follow these simple steps: stand with your back to the wind and start feeding the kite, remembering to always keep the retaining line firmly in your hands. If the wind is strong enough, you shouldn't have any problems: at that point, you can give even more thread to make the kite fly higher and higher!
What are you waiting for? Use this simple project to entertain your children and teach them how to make their first toy from scratch!