A few simple steps to make an apron from an old towel
Do you have to replace the towels at home because the ones you have are old and worn out? Or maybe one of your towels is permanently stained with bleach or hair dye? Before throwing them in the trash can, you can still find a way to make them useful.
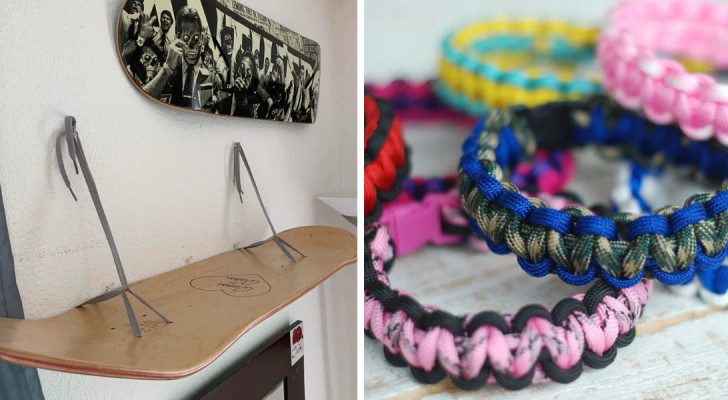
There are so many things that can be made by reusing old towels: they can be recycled, for example, as shower mats, or simply cut into smaller pieces to serve as cleaning rags. And if you have basic sewing skills, you can transform your old towels into kitchen potholders, scrubbing gloves for the shower, bags, and more.
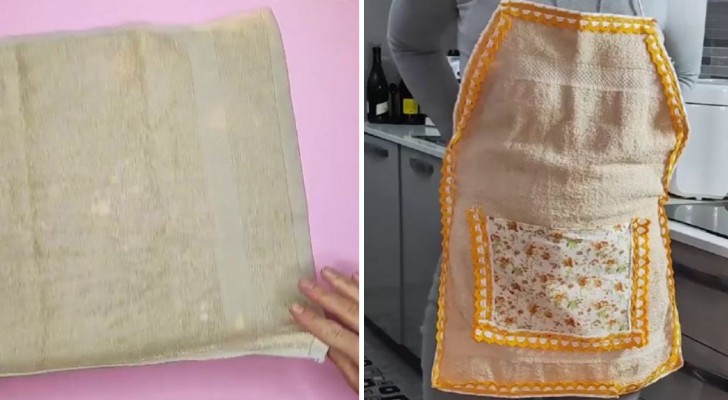
Today, we show you how to make a useful kitchen apron from an old towel:
What you will need
To make a useful apron from an old towel, you will need:
- an old towel
- fabric
- trimming/edging
- 3 lanyards/cord
- scissors
- sewing machine
- needle and thread
The steps to follow are very simple, and are described below:
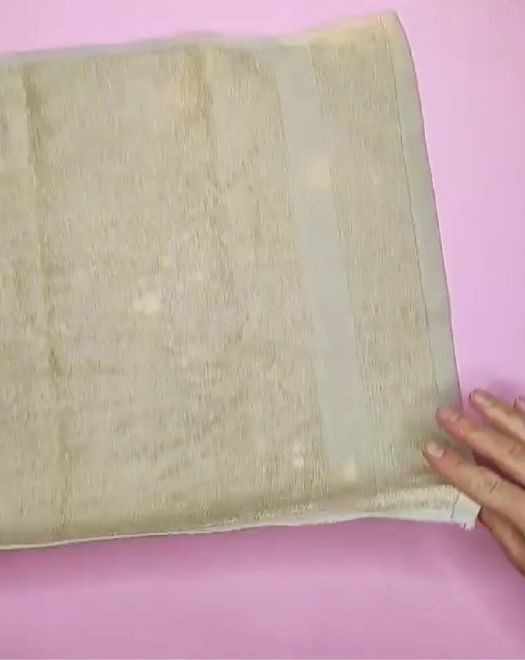
- Start by taking your old towel and folding the shorter side in half;
- Draw a diagonal line at one end, 15cm along the long side and halfway along the short side, then cut out the two fabric triangles;
- Open the towel again and cut out a square of fabric of the right size to act as a pocket to be sewn in its lower part;
- Fold the edge of one side of the fabric inside and stitch it, then lay the fabric on the bottom of the towel, seamed side up;
- Sew the fabric to the towel along the other 3 sides, taking care to fold over the edges beforehand;
- Take the trimmings and sew it all around the towel and the pocket you made;
- Now, take the cord and sew one at the two ends on the upper side, where you cut out the two triangles.
- The other two cords will only be sewn at one end, in order to be tied in the back.
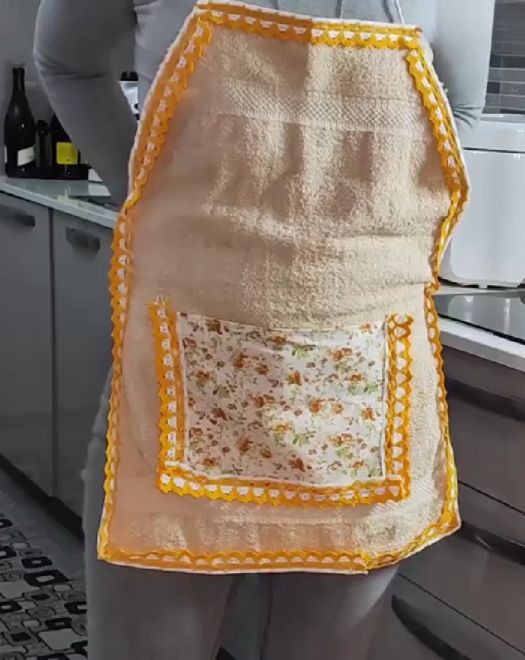
Your new apron is now ready to wear. Simple, no? Check out the full tutorial below!