IKEA hacks: your current shoe rack not good enough? DIY a new one!
Do you have a lot of shoes and don't know how to store them? Have you traveled far and wide in search of a shoe rack that was right for you, without having any joy? Or maybe you don't know where you could put up a shoe rack? The solution to your problem is at your fingertips: build your own custom-made shoe rack! The ideal location for this piece of furniture would be the entrance/foyer to the home, so that you can store your shoes near the front door and not walk with dirty soles on the floors. By dedicating a little attention to it, even the most bland shoe rack can become a unique and highly original piece of furniture. It might seem like a very difficult undertaking, but you can easily create a shoe rack from a simple piece of IKEA furniture.
Let's find out together how to make a DIY shoe rack in an economical way:
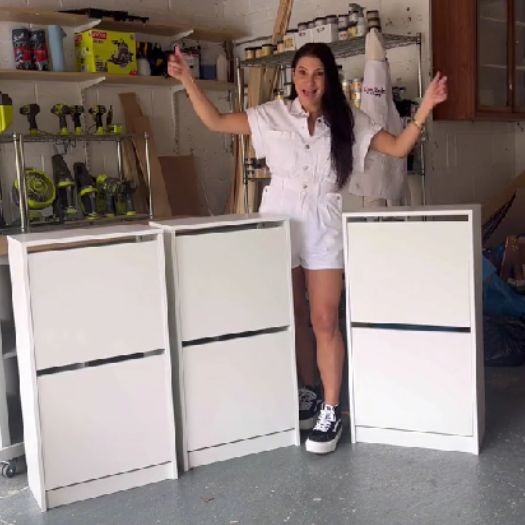
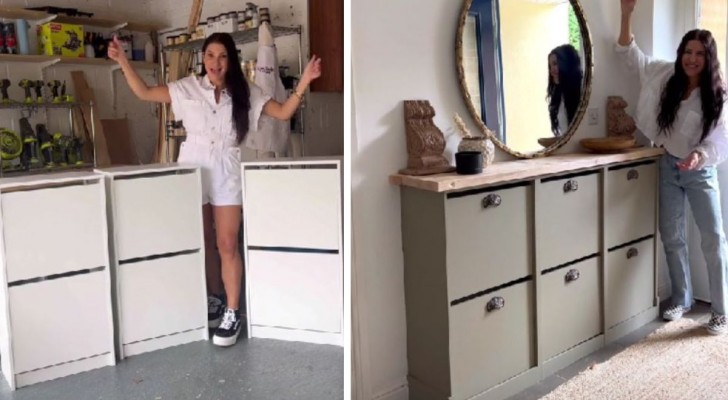
TikTokker @shaynaalnwick shows us in one of her videos how she created a perfect shoe rack for her foyer from 3 simple Bissa shoe racks purchased from IKEA. You will need the following materials to make one:
- 3 Bissa shoe cabinets from IKEA
- A MDF panel for the structure
- Wooden panel for the support shelf
- Colored acrylic paint
- Handles
- Wood glue
- Sand paper
- Screws
- Wax
- A mirror
You can choose whether to cut out the panels of the structure and the support shelf yourself or buy them already pre-cut. And you can freely decide on the color of the paint and they type of handles that best suit you. Also, you can replace the mirror with a painting (or something similar).
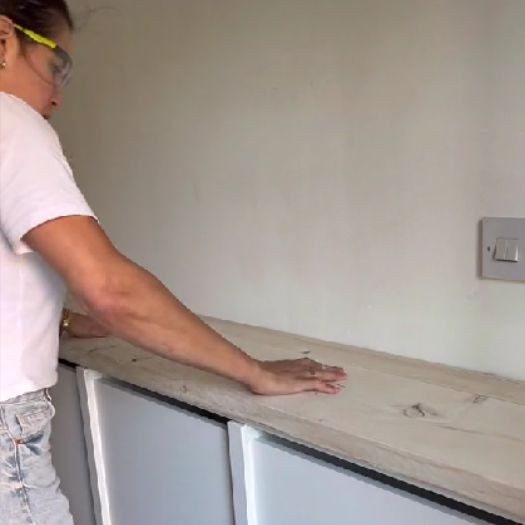
The first thing to do to build the perfect shoe rack is to assemble the three Bissa shoe racks and fix them to each other so that they form a single structure. To do this, assemble the frames by assembling the pre-cut panels or by cutting them yourself and fixing them to the shoe racks. Then, assemble the upper support surface.
The main structure of your shoe rack is now ready, and it's time to move on to the finishing touches, starting with sanding the rough wooden surfaces with sandpaper.
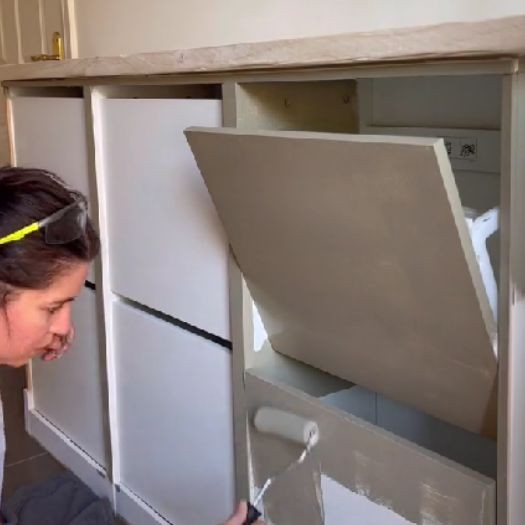
Paint the shoe cabinet whatever color you prefer and mount the handles on each door. When everything is dry, all you have to do is fill the compartments with your shoes and mount the mirror on the wall above the shoe rack.
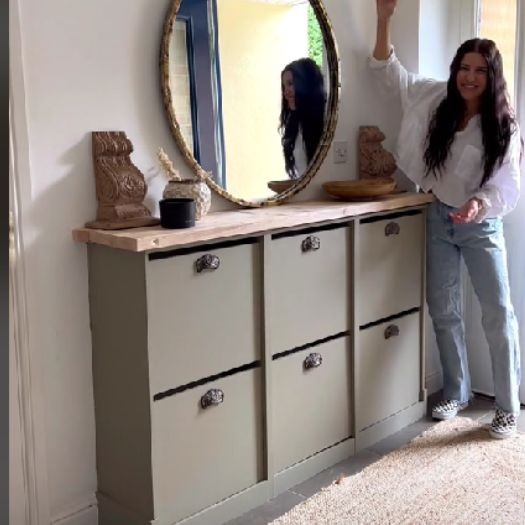
As you can see, the result is truly stunning: the three Bissa shoe racks are now almost unrecognizable and the shoe rack has a unique and original style! Watch the full video for the tutorial of this wonderful transformation.
Give free rein to your creativity - there is no limit to the projects you can undertake!