Learn how to propagate hydrangeas for zero cost
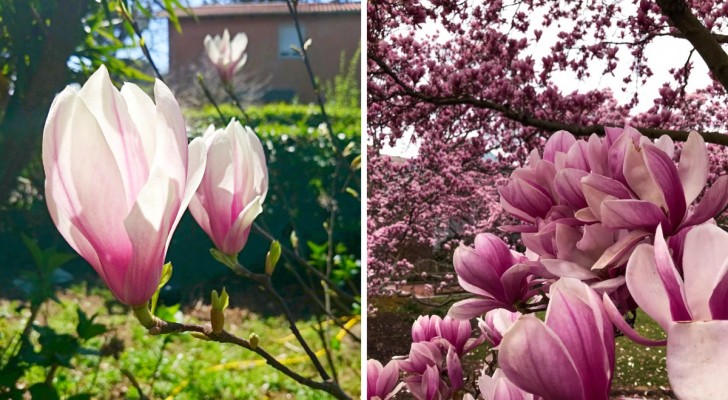
Among the most elegant plants that you can have growing in the garden are certainly the hydrangea species: these shrubs of sometimes very considerable dimensions herald the arrival of summer with their large flowers of many different colors and shapes. If you then delve into the world of collectible varieties and discover the different existing varieties, you will be really fascinated by the often surprising appearance of some of them.
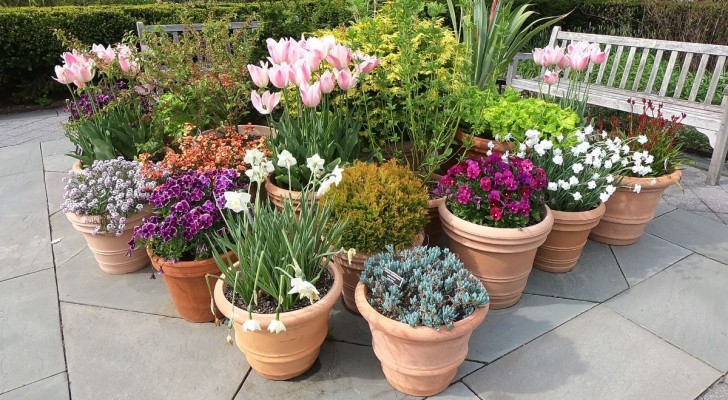
But even those that are seen most commonly do not lack a certain charm, with their classic beauty, and if you have space in the garden or in large pots on balconies and terraces, you may want to choose hydrangeas as the focal point. So why not propagate your plants by creating many new offspring, which can even be used as a beautiful gift idea?
Creativo
To propagate hydrangeas you need to segment one (or more) of their branches: the best time to propogate these plants, therefore, is when they are pruned, or in a case when - perhaps due to some accident or strong gusts of wind - you happen to find some of the plant's branches are broken.
The simplest way to multiply hydrangeas is, in fact, through using cuttings, which can be done in two ways:
1) Getting them to sprout roots in water.
In this case you will need to have to hand: a pair of very sharp and disinfected scissors, a glass jar (which is also clean and disinfected), and water.
- Cut the branches so that you have segments which are a maximum length of 20 cm. The ideal is to make sure that the cut on the end to be inserted in the water is a little oblique, and the other end that protrudes out of the jar is perfectly parallel to the branch. It is advisable to take the cuttings from the plant in the morning or in the evening. In addition, it is always best to cut just above a "node", which is where the buds will appear.
- Cut away the leaves so as to halve them horizontally (you will raise the half towards the tip, a sort of semicircle will remain attached to the stem). You can also skip this step if there aren't many leaves on the cutting.
- Fill the jar to the three-quarters mark with water and insert the cuttings. Put the jar in a bright area, where the sun's rays are somewhat filtered, especially during the hottest hours of the day.
- Change the water about twice a week, and in any case when you see it starting to get cloudy.
- Be patient: it can take days or even a couple of weeks before you see roots sprouting, and not all sprigs will survive.
- When the roots are 4 or 5 centimeters long, you can move the cuttings to the soil. Read on to find out more.
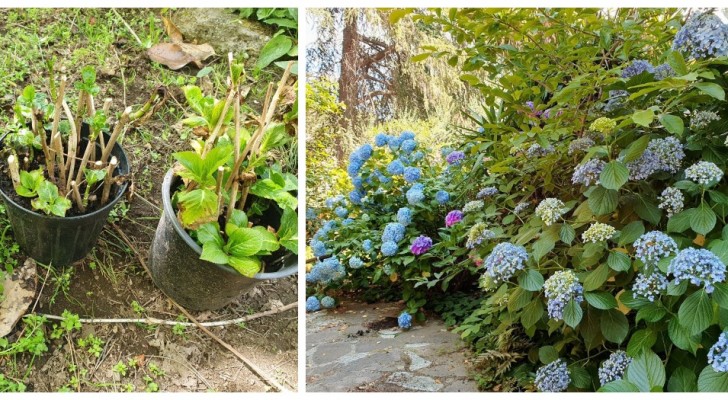
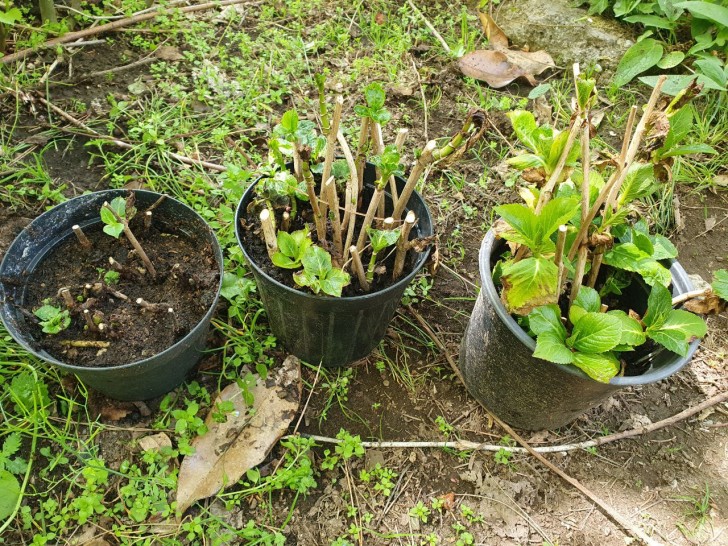
2) Directly inserting the cuttings into the soil.
In this case you will need: a plastic or terracotta pot (it must not be too big - those 20 cm in diameter or a little smaller are fine), some expanded clay, soil for acidophilic plants, some compost , scissors, powdered rooting hormone (found in garden centers or online), a glass of water.
- Prepare the pot: put a couple of fingers of expanded clay on the bottom, then fill with soil to which you have mixed the compost (a handful is enough). Alternatively to compost, you could use other substances that enrich the soil, such as earthworm humus.
- Take the cuttings as in the previous case and cut away the leaves as indicated.
- Dip the end that will end up in the soil in water, and immediately afterwards dip it into the powdered rooting hormone.
- Insert the cutting into the soil.
- Do this for all the cuttings.
- Immediately water the cuttings a little to compact the soil and then top up the soil level in the pot, if necessary
- Continue to water the cuttings a couple of times a week: the soil should not dry out completely but you shouldn't overdo it either. Hydrangeas like a consistently moist, but not waterlogged, soil. In any case, do not allow more than a day to pass with completely dry soil, especially while you are waiting for them to take root.
You will have plants to repot after one or two years, depending on the type. Generally, repotting is done in early spring or, in any case, not during the hottest period of the year or while the plants are preparing to bloom. It always depends on the species as to the best time for pruning, so check with your garden center or an expert (and check out the link). And it is good to leave them undisturbed like this, in their pot, for a couple of years: do not worry if in winter it looks that the plants are dead, because then with the arrival of spring, the branches begin to sprout again. After a couple of years, you can move them to slightly larger pots or directly in the soil in the garden.