Heels and insoles need repairing? Find out how to do it at home using DIY techniques
Shoes with high heels are an essential element of the wardrobe for many people, and there are always some pairs that we wear more, often ending up wearing out the very top of the heel. Sometimes it also happens that you need to take out your elegant shoes for an important occasion and suddenly realize that the heel needs to be replaced or that the inner sole has worn out and has the tendency to come loose.
Walking in shoes like this is not very comfortable at the best of times, not to mention when they are in need of repair. But what can we do if we do not have time to go to a cobbler? We could try to repair the shoes by ourselves: repairing the tip of a heel or replacing an insole, in fact, is not very difficult.
Fixing the tip of a heel
Video tutorial via Pierina Guerra / BellezabyKatty YouTube
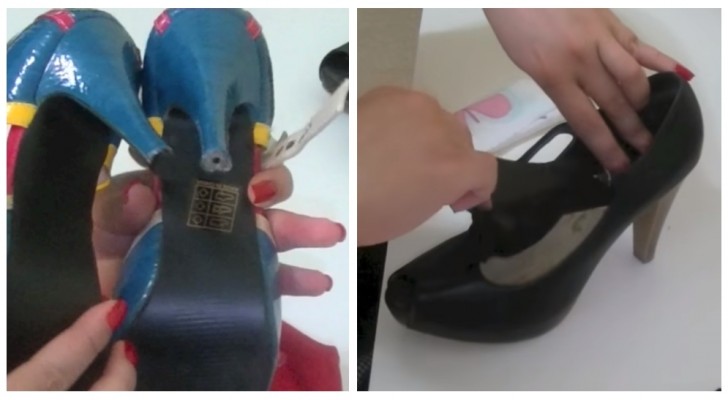
f the problem with a shoe is simply the fact that the rubber pad on the tip of the heel has worn out, we can try to fix this ourselves. In fact, it is usually sufficient just to have a rubber pad of the same color and size as the original (they can also be easily purchased online, and indeed, it would be a good idea to always keep a package around the house) and a pair of standard pliers - those with gripping jaws that are not too long and that have a round recess in the center.
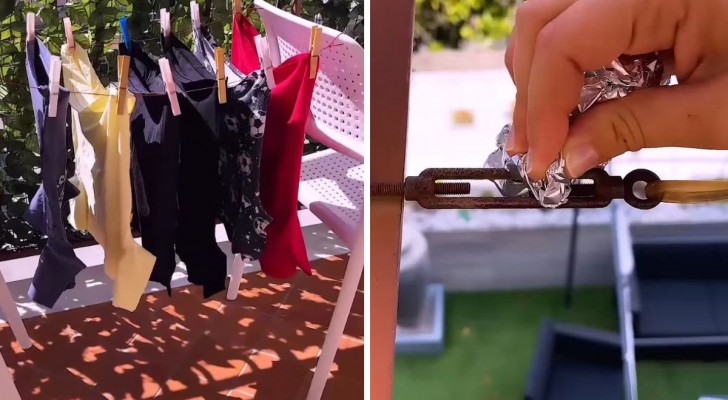
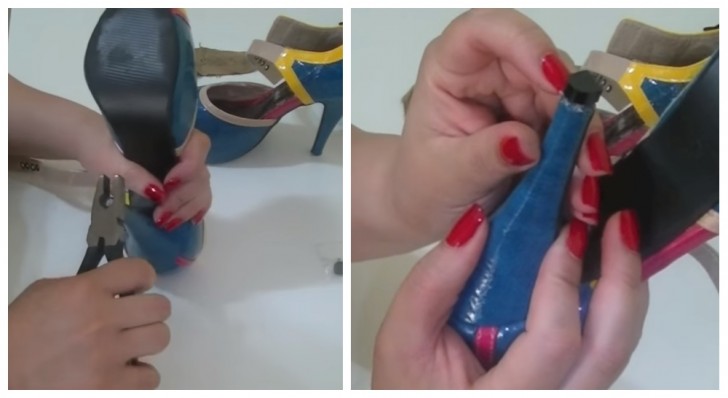
With these pliers, you will need to pull off the worn rubber, which is usually connected to the heel by a tack or cobbler's nail: grip the top of nail on its sides and use the round notch on the pliers to extracting it, holding the heel firmly in your other hand (so that you do not risk detaching the entire heel from the upper part of the shoe).
At this point, place a new rubber pad over the exposed surface of the heel, fold over any flaps of fabric or leather that cover the heel so that they will remain stationary under the rubber pad, and begin beating it flat with the pliers (or use a hammer), in order to to put the nail back into the heel. Be careful to tuck in the heel lining well before the last few strokes of the hammer, and you will have repaired the shoe.
Replacing insoles
Video tutorial via Pierina Guerra / BellezabyKatty YouTube
If, on the other hand, it is the insole that has detached itself and worn out, you will need to equip yourself with:
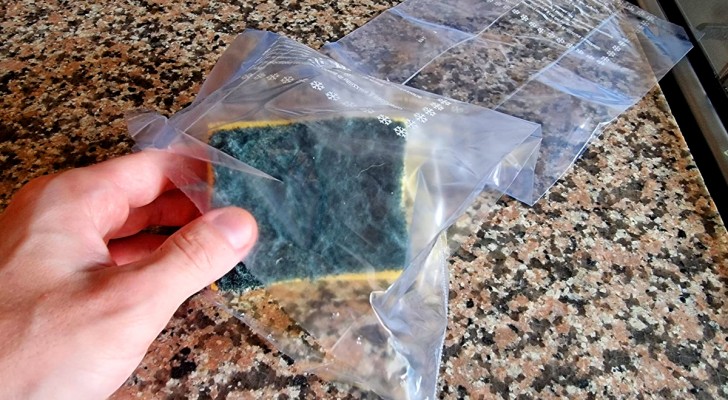
- Scraps of leather or a suede fabric, but which is also a thick and resistant fabric from which you will cut the new insoles
- A marker or sewing chalk
- Scissors
- Sewing pins
- Shoe repair glue
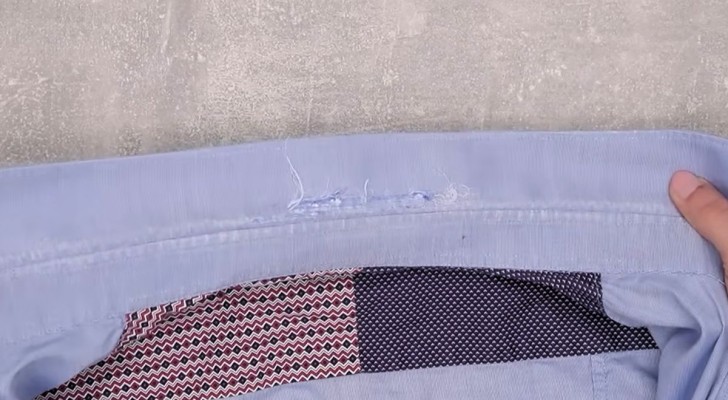
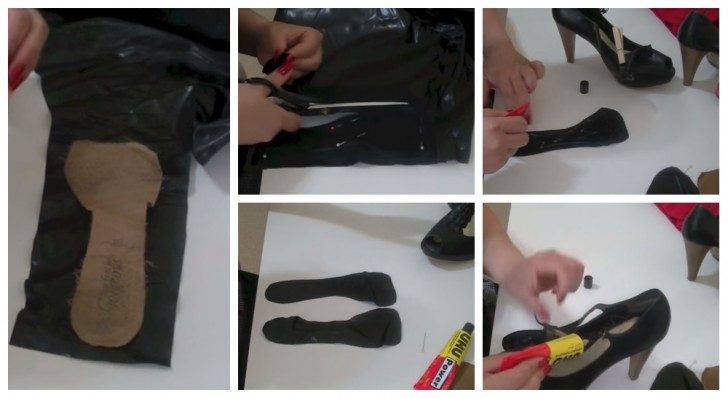
Use the old insole to trace the shape for the new one on the fabric cutout, then place this shape on the fabric which you will use for the new insole, pin them together and make a single cut to obtain the same shape from both layers of fabric.
At this point, put a little glue inside the shoe, then a little on the reverse side of the new insoles (i.e. the side that will not come into contact with the foot), and insert the new insole, making sure it adheres to the inside the shoe properly and without bunching up. You can should wait for the glue to dry for about a minute before inserting the new insole.
Run your fingers over the insert to remove any wrinkles, then wipe off any glue residue and the shoe will be repaired!
For more information and clear instructions, you can consult this video tutorial.