Turn an old shoe box into a useful and colorful storage box
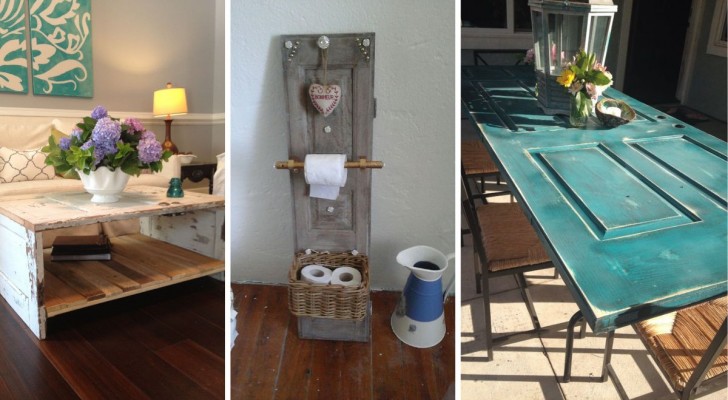
It is always useful to have accessories that help us keep our homes in order, and we need a something to do this in every room in our homes. There may be jewelry and trinkets scattered around the bedroom, make-up products in the bathroom or in the corner dedicated to the toilet, stationery items that clutter up the desk, and much more.
In this context, then, it is useful to have a multi-compartment storage unit, where you can store everything in order not to waste time rummaging around a room every time we are looking for something. Using some DIY projects, you can create a useful storage accessory - and there is no need to spend a fortune on the various materials needed: you just need a cardboard box for shoes and wrapping paper for decoration and wrapping.
Tutorial via ecobrisamanualidades.com
You will need:
- A cardboard box (like those used to store shoes)
- Some other pieces of cardboard (cut up packaging boxes will be fine)
- Vinyl glue (PVA white glue)
- Wrapping paper for decoration
- A pencil
- Hot glue and a hot glue gun
- A brush
- A ruler
- A box cutter
- A pair of scissors
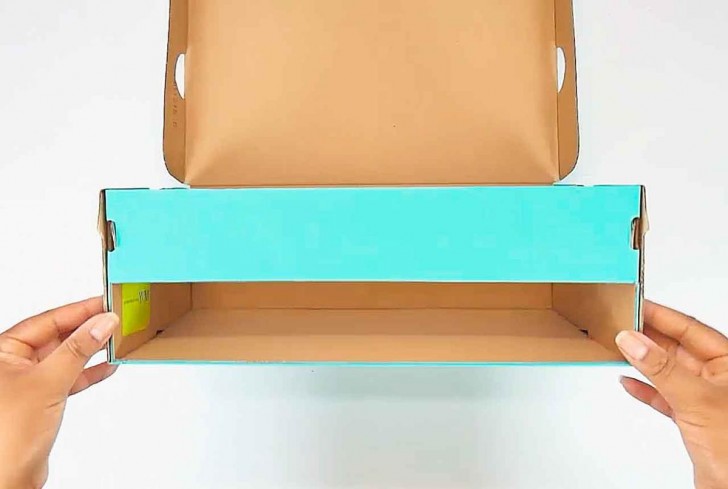
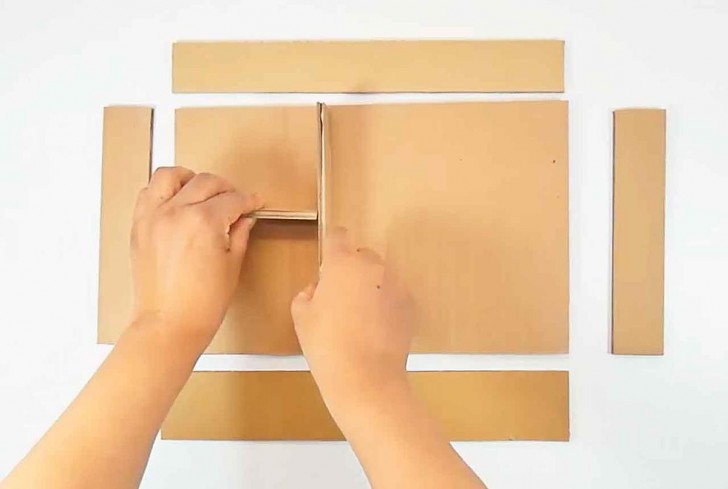
Start by cutting out a 5 cm high rectangle on the front, bottom of the box. Then reinforce the top with another piece of cardboard. You can line everything with brown paper (kraft paper or even a paper bread or vegetable bag).
Tutorial via ecobrisamanualidades.com
Measure the dimeions of the size of your shoe box, and cut out the pieces you need to build the drawers: the rectangle you have already cut out, will be the opening into which to insert a drawer at the bottom.
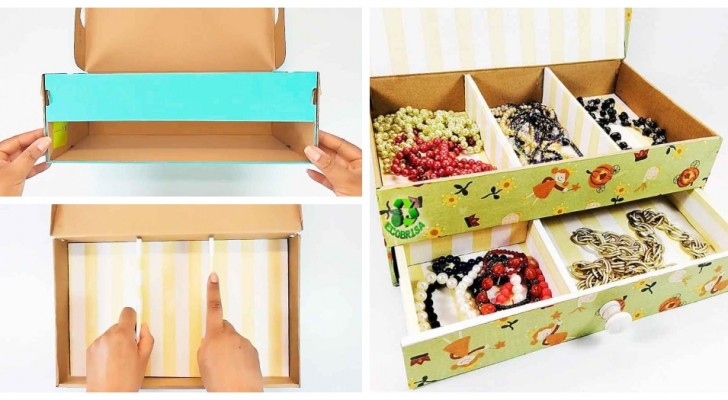
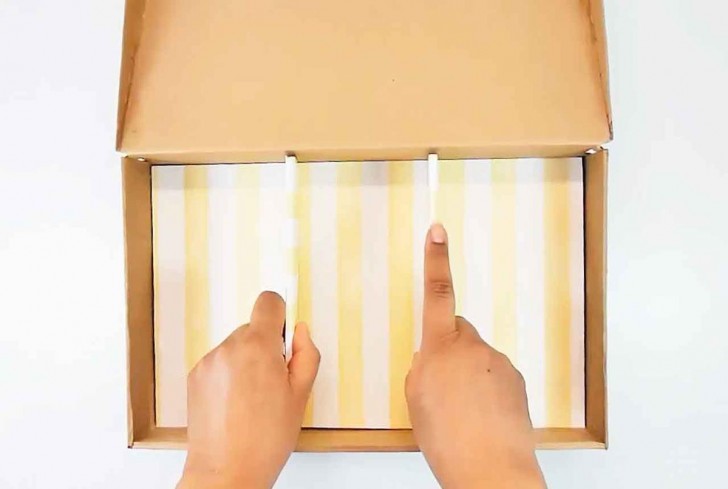
Then use the cardboard pieces to create the compartments you want inside the drawer: you need to glue the pieces on the cardboard cutout which will act as the bottom of the drawer, and then you will use the glue to secure the sides.
Tutorial via ecobrisamanualidades.com
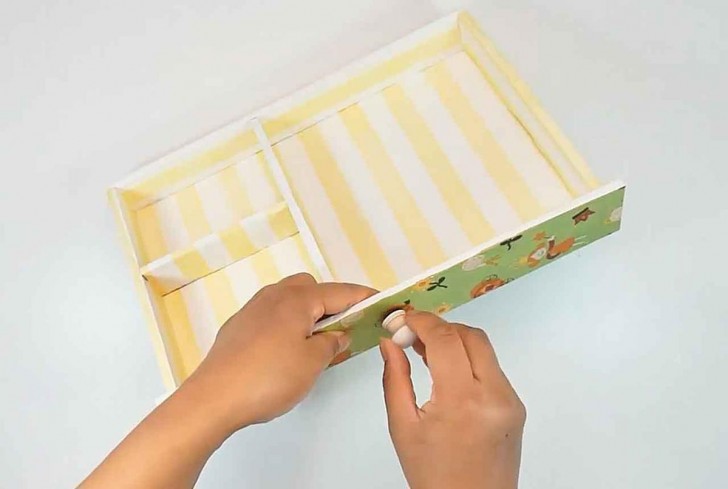
Line the drawer with colored paper: you can use the same for the inside and the outside, or even use different colors / patterns.
Tutorial via ecobrisamanualidades.com
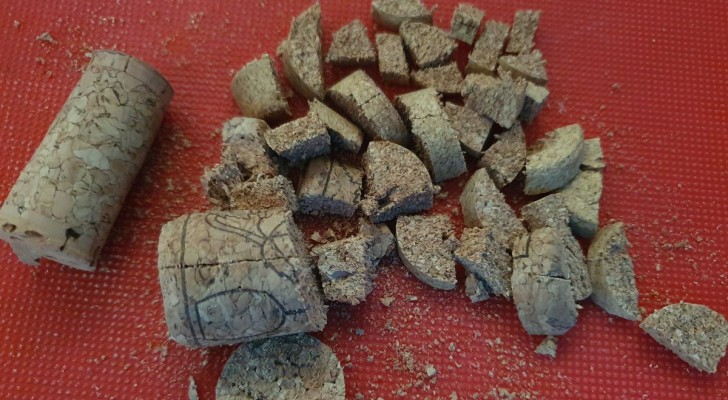
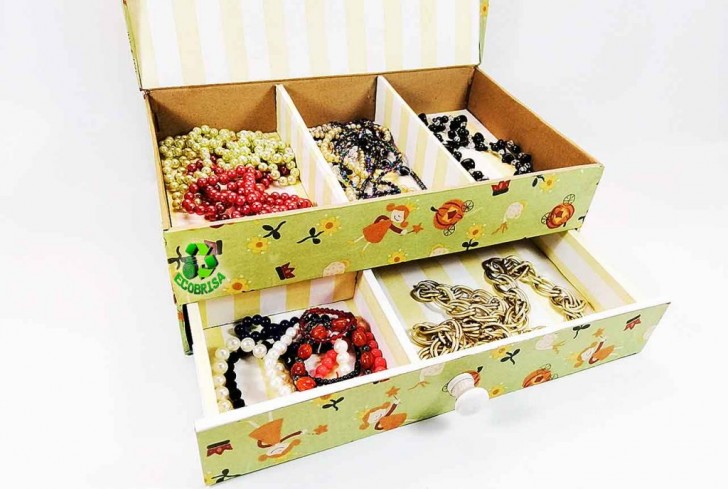
It is also nice to add a knob to open the drawer more easily, and here you will have the freedom to choose one in the shape and material you like. You could even recycle a cork, for example!
Then add a lid to the top (otherwise you will see the drawer inside) and equip one with compartments before lining it with colored paper. In this way you will end up having your mini chest of drawers with an open part at the top and the drawer to be extracted immediately below, each divided into convenient compartments.
Tutorial via ecobrisamanualidades.com
You can follow the tutorial in detail in this video.