Bowls and vases made from sawdust: discover an easy and fun recycling technique!
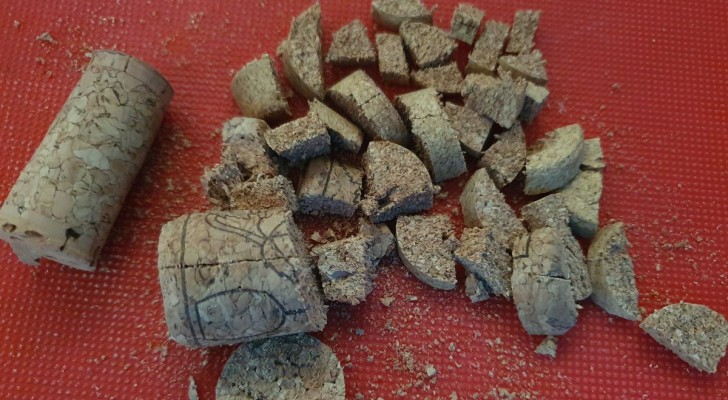
Sawdust, i.e. all the tiny wood chips mixed with wood dust that remains after carpentry work, is a waste material that, at best, is used to absorb wet, dirt stains in workshops and other locations (like pub floors). With a little imagination, however, it can also be used for artistic purposes: it can, in fact, be mixed with other substances to create a modeling clay which, once dry, becomes solid and robust.
In particular, sawdust is often mixed with glue - mostly vinyl (white glue) - and with the resulting mixture there are even those people who make sculptures. Below, however, we describe two different tutorials to create storage bowls or even pots / vases for plants from sawdust and a few other materials:
Video tutorial via Simply Sadu/YouTube
The first tutorial, which you can watch here, shows how to mix tiny wood chips and saw dust (like the dust that remains after sanding a wooden surfaces) with vinyl glue. The quantities depend on the materials available. The glue used in this case (Favicol) is multifunctional, suitable for paper, cardboard, fabrics and more. But plain, white vinyl glue, of any brand, can be a good substitute if you cannot find this specific brand.
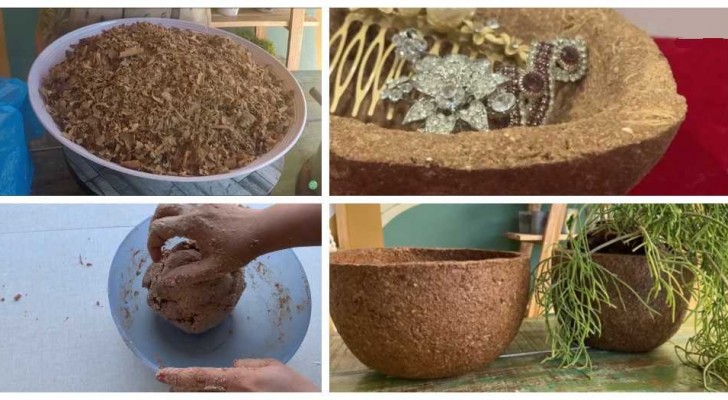
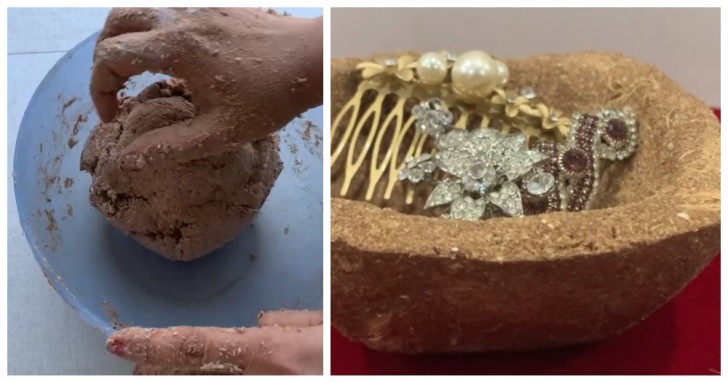
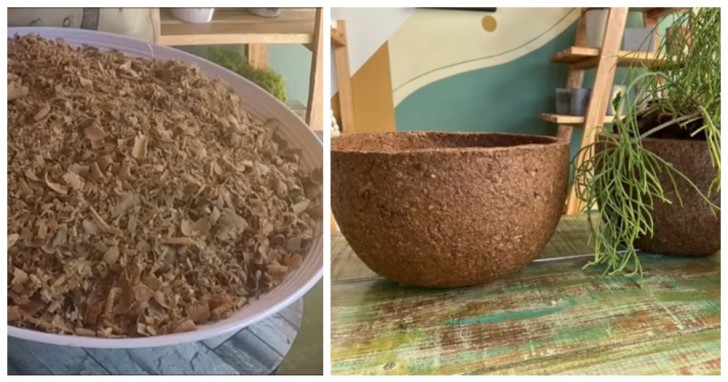
In a small plastic bowl (which you might want to keep dedicated for this purpose), mix the two types of sawdust - the sawdust and the little wood chips - (in equal parts, preferably) and then gradually add the liquid glue so as to achieve a malleable and sticky consistency, but which comes away from the walls of the bowl without crumbling apart.
At this point you can use the mixture obtained as seen in the video: filling the inside of some small bowls and then shaping the concave part with your fingers, or you could take the bowls that you want to use as a mold and turn them over, and covering the outside with the sawdust paste.
Leave to dry in a non-humid place and maybe even in the sun: depending on the size and thickness of your creations, it could take up to a couple of days for them to dry out thoroughly.
When the object is completely dry, carefully separate it from the mold with a knife and then use a finishing product to seal the object. Some transparent varnish (satin or glossy finish, as desired) will create a protective film to make the object last longer. The sawdust will tend to absorb a lot of this varnish, so be generous.
Video tutorial via Maria Amélia Mendes - Healthy and Sustainable Living/YouTube
In case you want to use your sawdust paste to make a vase, the steps are very similar, but you have to be very careful to waterproof both the inside and outside of the vase properly.
Once the modeled vase is dry, you can go over it with a couple of coats of vinyl glue, and when this is also completely dry, use a waterproofing product for the surfaces: it can be a transparent varnish specifically for this purpose, or you can even use liquid rubber or a mixture of a DIY sealant (made from a mix of liquid silicone glue, an inhibitor of 70% alcohol and enough ethanol [car fuel] to create a viscous mixture that can easily be spread with a brush).
Would you like to use this technique to create vases with completely unique shapes?