Drainage holes in orchid pots: Discover this tip to make orchids grow better
Many people love to grow orchids at home, where recreating the conditions necessary for their growth and flowering always requires a little attention, but it is not very difficult. In households, in fact, the orchids we love the most are from the orchid family called epiphytes. Unlike other orchids, epiphytes are special and they live on trees and do not have their roots immersed in the earth like many other plants.
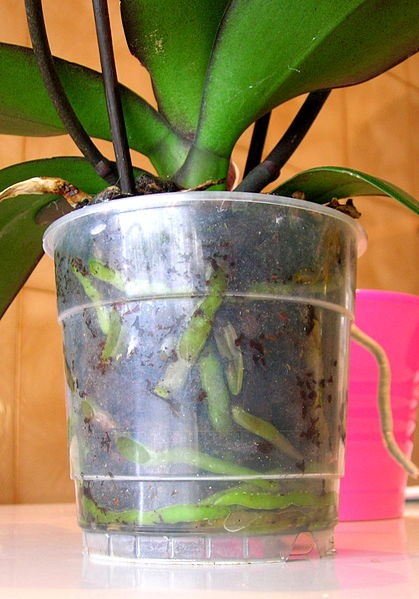
Among these epiphytes are the Phalaenopsis species, which is the species of orchids that we most often find in shops and nurseries and therefore are amongst the most popular of orchid houseplants. It is often recommended to grow these in clear plastic pots and using the right potting soil - which is easy to find, and is a bark-based mix. In fact, this is the potting soil combination that causes the roots to obtain the water necessary for the nourishment of the plant itself but without being totally buried in it.
To help drain the water and aerate the root system, however, you can also use a tip that many green thumbs love: putting holes in the pot.

Video Tutorial via MissOrchidGirl/YouTube
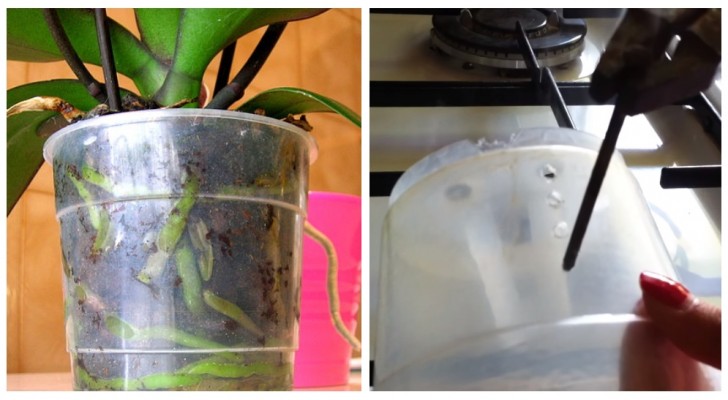
How to make the holes: you can use pointed pair of scissors, if you do not want to empty the pot and then repot the whole plant. A screwdriver or even a long iron nail will do the job too.
In the case of scissors: consider carefully the spot in the pot where you do not see roots, and pierce the plastic with the tip (or points) of the scissors, rotating them a little so as to create a hole that is at least 2-3 mm in diameter. However, it is recommended to use the method described below, especially if the plastic of the pot is hard or if it was time to repot anyway.
With a screwdriver or a nail: empty the pot and soak the plant in water (this is an operation to do when you need to water the orchid anyway - and we will explain how to do this later); heat the tip in the flame of a lighter or even over the kitchen stove or candle and then press the hot, sharp end into the plastic. The hot metal will be able to pierce it the plastic effortlessly. Do not use a very thick screwdriver.
In both cases, first decide where on the pot to punch the holes, which can be a line or a circle, on one side or both if the pot is larger.
The advantages of having holes in the pot:
- The water flows out better than just having a single drainage hole at the bottom of the pot only, therefore the roots of the plant will not be immersed in water, avoiding rotting;
- The risk of mold forming between the pieces of the substrate is reduced, which therefore lasts even longer when it is properly draining.
Watering and repotting orchids
When using these pots, the water will flow out faster, so when watering it will be necessary to insert the pot into a basin of water, so that the orchids are immersed in water for at least 10 minutes (preferably, an hour). Make sure that the water reaches only up to 3/4 of the height of the pot and without ever touching the base of the plant. If that does happen, you should remove some of the water and dry the base and the lower leaves of the plant with some paper towels.
If you want to take advantage of the opportunity to repot orchids while you are putting holes in the pot:
- Soak the new substrate overnight.
- Dilute 60 ml of bleach in 2 liters of water and immerse the jar and the tools you will use in this solution for 15 minutes.
- Remove the jar and tools and rinse them thoroughly.
- Drill the holes as indicated above.
- Insert the substrate, now full of water, and the orchid in the pot, water again and then let the bulk of the water drain out.
- You can put the pot in its place when the bark is still wet but only when no more water is dripping from the holes.
Happy gardening, green thumbs!